
Color PPF used to cost $10K. Now you can DIY it for under $2K.
Here’s the complete guide to installing color PPF on a Model Y Juniper.
𝗪𝗵𝘆 𝗰𝗼𝗹𝗼𝗿 𝗣𝗣𝗙 𝗲𝘅𝗶𝘀𝘁𝘀
Tesla only offers 5 colors for the Model Y Juniper. That’s it. So naturally, it’s become one of the most wrapped vehicles on the market.
For years, the only way to change your car’s color was vinyl wrap. The problem? Vinyl is thin. It chips easily. So people would wrap in vinyl, then add clear PPF on top for protection. Double the work. Double the cost.
But in the last few years, color PPF has completely changed the game. More colors available. Prices coming down. Protection and color change in one layer.
In 2025, we launched the first color PPF kit for the Model Y Juniper designed specifically for DIYers. We felt like the market was finally ready.
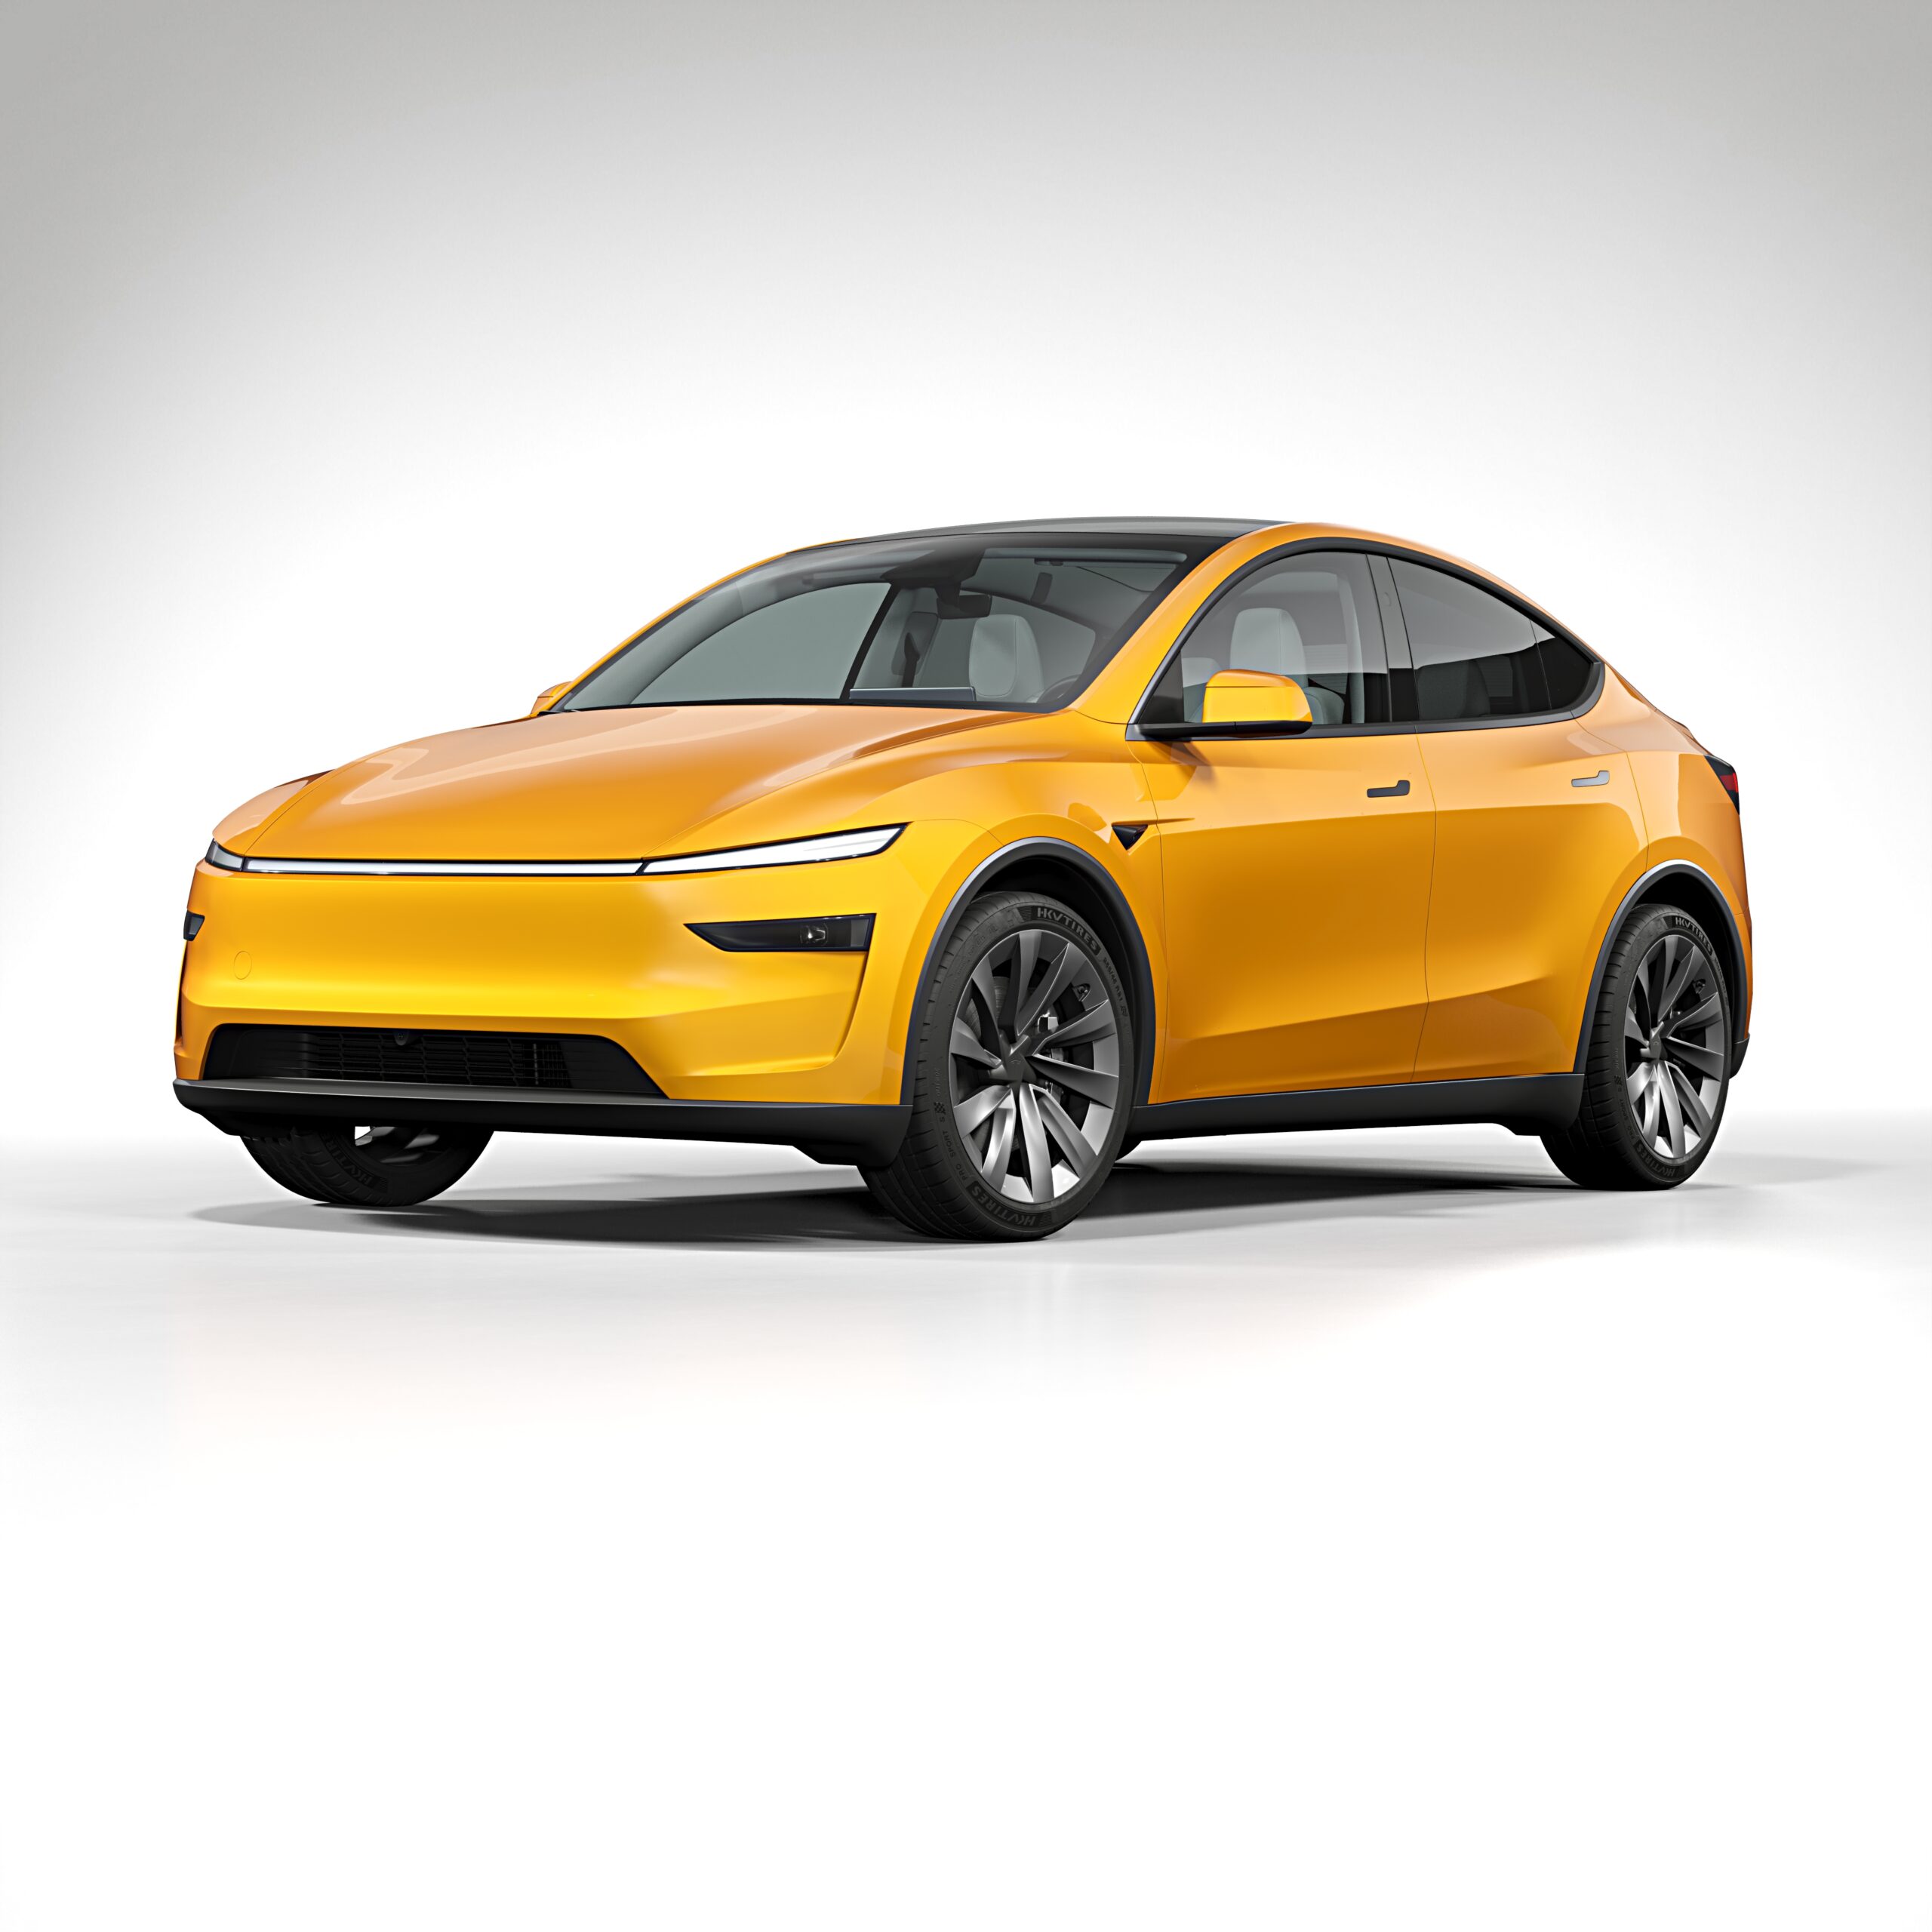
𝗦𝘁𝗲𝗽 𝟭: 𝗣𝗶𝗰𝗸 𝗮 𝗰𝗼𝗹𝗼𝗿
Depending on the brand, you now have hundreds of colors to choose from.
You’ll see different sheens: gloss, matte, satin, and textured films. There are also color shift or color flow options where the color changes depending on the angle.
Best way to visualize it? Use Nano Banana or Gemini to render the color on your vehicle. Or Google it. Or email us. We’ve probably already done it and can send you an actual image of what it looks like.
𝗦𝘁𝗲𝗽 𝟮: 𝗗𝗲𝗰𝗶𝗱𝗲 𝗯𝗲𝘁𝘄𝗲𝗲𝗻 𝗗𝗜𝗬 𝗼𝗿 𝗮 𝗽𝗿𝗼 𝘀𝗵𝗼𝗽
Pro shop pricing is all over the place right now. Color PPF material costs are dropping, but the labor is still heavy. Expect anywhere from $7,000 to $10,000 depending on the color and complexity.
If that’s in your budget and you want the best possible work, go for it.
DIY kits typically start around $2,000 or a little under. But here’s the truth: it’s not easy. You might spend an entire weekend on this. Maybe longer.
The upside? You save a third to a fourth of what a shop would charge. You keep your car in your own garage. And you actually understand the work that went into protecting your vehicle.
If you decide to go DIY, keep reading.
𝗦𝘁𝗲𝗽 𝟯: 𝗙𝗶𝗻𝗱 𝗮 𝗰𝗼𝗺𝗽𝗮𝗻𝘆 𝘁𝗵𝗮𝘁 𝗼𝗳𝗳𝗲𝗿𝘀 𝗗𝗜𝗬 𝗰𝗼𝗹𝗼𝗿 𝗣𝗣𝗙 𝗸𝗶𝘁𝘀
There aren’t many out there yet, but DIY Wrap Club was the first. When you’re evaluating, look for these things:
1. 𝗤𝘂𝗮𝗹𝗶𝘁𝘆 𝗼𝗳 𝗳𝗶𝗹𝗺. Are they using cheap material that could damage your paint? Or high quality film with a solid reputation?
2. 𝗦𝘂𝗽𝗽𝗼𝗿𝘁. A lot of companies will give you a WhatsApp number and that’s it. Maybe there’s a language barrier. Maybe they’re not US based. If something goes wrong, you want real support.
3. 𝗘𝘃𝗲𝗿𝘆𝘁𝗵𝗶𝗻𝗴 𝗶𝗻𝗰𝗹𝘂𝗱𝗲𝗱. This process is already intimidating. You don’t want to hunt down extra tools or supplies. Find a kit that includes everything you need.
4. 𝗖𝗼𝘂𝗿𝘀𝗲 𝗾𝘂𝗮𝗹𝗶𝘁𝘆. This is the most important thing. The kit matters. The patterns matter. But the course is what actually gets you through it. Preview it before you buy. Make sure it’s thorough and matches how you learn.
5. 𝗖𝘂𝘀𝘁𝗼𝗺 𝗽𝗮𝘁𝘁𝗲𝗿𝗻𝘀. A lot of companies just download templates from software designed for professionals. Pros can adjust on the fly. DIYers can’t. Make sure the company actually designs their own patterns with beginners in mind.
𝗦𝘁𝗲𝗽 𝟰: 𝗣𝗿𝗲𝗽 𝘁𝗵𝗲 𝘃𝗲𝗵𝗶𝗰𝗹𝗲
This is one of the most important steps. Don’t skip it.
Start with a full wash. Rinse the car down, then wash from top to bottom. Never bottom to top. You’ll drag dirt up and scratch your paint.
Use the two bucket method. We have a guide on this.
Next, prep wash. This removes oils and remaining contaminants from the surface.
Then, clay bar. This gets your paint back to its OEM state, the way it was when it left the factory. The cleaner the surface, the better the PPF will stick to the clear coat.
Finally, edge prep. Grab 70% alcohol and a microfiber. Go around every single edge that the film will wrap around.
Color PPF requires more coverage than clear PPF. You’re changing the entire color of the vehicle, which means wrapping around corners and edges. Edge prep is critical.
Once you’re done, wipe down the panel you’re about to work on, clean it with a squeegee, and you’re ready.
𝗦𝘁𝗲𝗽 𝟱: 𝗪𝗮𝘁𝗰𝗵 𝘁𝗵𝗲 𝗰𝗼𝘂𝗿𝘀𝗲
Everyone learns differently.
Some people like to watch one module at a time, install that panel, then move on. Others want to watch the whole thing first and then go back as a reference.
Either way works. We designed our courses to support both.
If you have a TV in your garage, that helps a lot. Otherwise, an iPad or phone works. You’ll want to pause and rewind constantly.
𝗦𝘁𝗲𝗽 𝟲: 𝗜𝗻𝘀𝘁𝗮𝗹𝗹 𝗽𝗮𝗻𝗲𝗹 𝗯𝘆 𝗽𝗮𝗻𝗲𝗹
Here’s the process for each panel:
1. Wipe it down.
2. Spray a lot of solution and squeegee off any remaining contaminants.
3. Spray again. This is what the panel will sit on.
4. Peel the liner off the film.
5. Place the film on the surface.
6. Align it.
7. Squeegee all the water and solution out.
Once you’re done, do a double take. Go back over the entire panel and check for bubbles you might have missed.
Wipe it down. Inspect it. If you’re confident it’s good, move to edge sealing.
Edge sealing means applying tack solution along all the edges. This pushes out any remaining moisture and locks everything down.
Let the edges dry. This can take two to three hours, sometimes longer. Don’t rush it.
Once dry, use a heat gun and roll the edges over with your thumb. For corners, start there first. If needed, use a quick dab from a torch to burn the memory into the film so it doesn’t lift back up.
𝗦𝘁𝗲𝗽 𝟳: 𝗜𝗻𝘀𝗽𝗲𝗰𝘁 𝗮𝗳𝘁𝗲𝗿 𝘁𝘄𝗼 𝘄𝗲𝗲𝗸𝘀
Most failures happen within the first two weeks. That’s when edges lift. That’s when bubbles appear.
Go around the entire car. Use green tape to mark anything that needs fixing. Then go back and address everything at once.
Edges that lifted? Push them back down with heat. Bubbles? Use a syringe to pull the air out.
After that, you’re done.
𝗙𝗶𝗻𝗮𝗹 𝘁𝗵𝗼𝘂𝗴𝗵𝘁𝘀
This is not an easy project. It takes time, patience, and a willingness to learn.
But it’s incredibly rewarding. You save thousands of dollars. You understand exactly what went into protecting your car. And you end up with a color that only 5 out of every 1,000 Model Y owners will have.
If you’re interested in going the DIY route, check out our kits at diywrapclub.com.


