
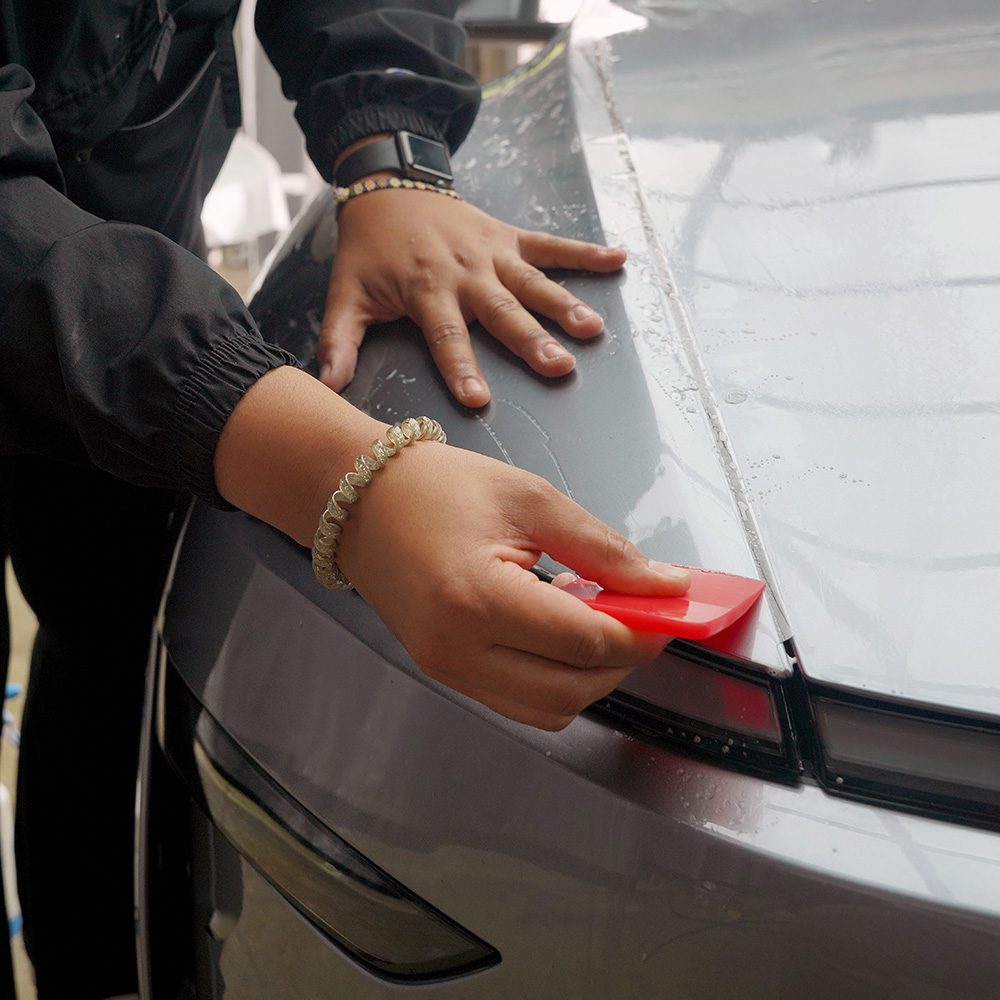
Installing paint protection film can be one of the most satisfying DIY upgrades for your car. But then you step back, look at the panel, and there it is.
A tiny speck of dirt.
Or worse, a hair trapped right in the middle of the film.
Before you panic, you should know this happens more often than people admit. Even in a clean shop, dirt and contamination can find their way under PPF. The good news is that many small specks and some hairs can be removed after installation if you use the right technique, clean tools, and a little patience.
In this guide, we’ll walk through how to remove dirt, dust, debris, and hair from underneath PPF without damaging the film or creating lift lines.
First, Identify What’s Under the PPF
Not all contamination looks the same. Before you start lifting the film, take a second to figure out what you’re dealing with.
There are usually two main types of contamination under PPF:
- Dirt specks or debris
- Hair
Both can be removed, but they behave differently once they’re stuck to the adhesive side of the film.
What Dirt Under PPF Looks Like
Dirt contamination usually looks like a small raised bump or “pimple” under the film. It may be white, dark, or nearly invisible depending on the color of the car and the type of debris.
A dirt speck could be:
- Dust from the floor
- Dried soap or solution residue
- Flaky skin
- Dirt from tires or wheel wells
- Contamination from your hands, clothes, tools, or workspace
Small dirt specks are the most common. If the debris is large, you’ll usually notice it during the install. The annoying ones are the tiny pieces that you only see after the film is already squeegeed down.
What Hair Under PPF Looks Like
Hair is usually more obvious, especially if it’s dark hair on a light-colored vehicle. It can also be one of the most frustrating types of contamination because it tends to stick to the adhesive side of the film.
Pet hair can be especially difficult. Cat hair and some dog hair are extremely thin and hard to see until the film is already installed.
That’s why many installers wear hats, clean clothing, and even lint-roll themselves before working with PPF.
Tools You’ll Need
Before you try to remove anything under the film, gather clean tools. Cleanliness matters because the last thing you want is to introduce more dirt while trying to remove one speck.
You’ll want:
- Slip solution
- Hot water, but not boiling water
- Clean spray bottle with stream mode
- Clean PPF squeegee
- Clean nitrile gloves
- Bowl of clean water for rinsing tools
- Optional plastic tweezers
Avoid metal tweezers if possible. Metal can scratch, dent, or damage the film or the paint surface if you aren’t extremely careful.
Why Hot Water Helps
Hot water helps soften the adhesive and relax the film before you lift it. This makes it easier to pull the film back without shocking the adhesive or stretching the material too aggressively.
You do not need boiling water. Use decently hot water, similar to what you’d get from a hot water dispenser.
Think of hot water as a way to “ease” the film before disturbing it. It can also help the film shrink back slightly after it has been lifted and stretched.
How to Remove a Small Dirt Speck Under PPF
Small dirt specks are usually the easiest to remove, especially if you catch them soon after installation.
Step 1: Spray the Area With Hot Water
Start by spraying hot water around the area where the dirt is trapped. This helps loosen the adhesive and makes it safer to lift the film.
Do not immediately yank the film up. Give the hot water a moment to work.
Step 2: Slowly Lift the Film
Carefully pull the film back just enough to access the dirt. Keep the film low and controlled instead of lifting it straight up.
Lifting the film too high can increase the chance of creating lift lines. Lift lines happen when the adhesive is disturbed too aggressively, leaving visible marks in the film.
As you lift, spray slip solution underneath the film to keep everything wet and lubricated.
Step 3: Flush the Dirt With a Spray Bottle
Once you can access the area, switch your spray bottle to a more direct stream if possible.
Aim at the dirt from an angle and spray aggressively. For small specks, this alone can often dislodge the contamination.
In many cases, a strong stream of slip solution will push the dirt out from under the film.
Step 4: Squeegee in the Opposite Direction
After flushing the dirt, spray the area again and squeegee the film back down.
A helpful trick is to squeegee in the opposite direction from how you originally pushed the film down. This helps move remaining solution and air away from the repaired area.
Use firm, controlled pressure. You don’t want to leave moisture pockets or a white line behind.
What to Do If the Dirt Won’t Flush Out
Sometimes the dirt sticks to the adhesive side of the PPF. This is more likely if the film has been sitting for a while.
If spraying alone doesn’t work, use the tip of a clean PPF squeegee.
Gently touch the area where the dirt is trapped and try to dislodge it. You are not trying to scrape aggressively. You’re just trying to disturb the speck enough so it can move.
Once it moves, flush it again with your spray bottle.
The order should usually be:
- Hot water
- Lift carefully
- Flush with slip solution
- Dislodge with clean squeegee tip if needed
- Flush again
- Squeegee the film back down
Sometimes the dirt will travel instead of coming out immediately. That’s normal. Keep track of where it moves and continue flushing it toward the nearest edge.
Can You Use Your Fingers?
Yes, but only with clean gloves.
Bare hands can introduce skin flakes, oils, and more contamination. If you need to reach under the film, wear clean nitrile gloves.
Bright-colored gloves can actually help because they make it easier to see dirt, especially on dark-colored cars. Black gloves are common in the industry, but they can make small dark debris harder to spot.
How to Remove Hair Under PPF
Hair is trickier than dirt because it can be long, flexible, and stuck to the adhesive.
If the hair is small and near an edge, you may be able to remove it easily. If it’s long and in the middle of the panel, it will take more patience.
Step 1: Spray Hot Water Around the Area
Just like with dirt, start by spraying hot water around the section where the hair is trapped.
This helps relax the film and loosen the adhesive before you lift it.
Step 2: Carefully Lift the Film
Slowly pull back the film until you can access the hair. Keep the film hydrated with slip solution as you lift.
Try not to lift more than you need to. The more film you disturb, the more work you’ll have when resetting it.
Step 3: Keep the Area Wet
Spray slip solution underneath the film and around the hair. Hydration is important because it helps the hair move and reduces the chance of the adhesive grabbing it harder.
Step 4: Try to Flush the Hair Out
Start by trying to flush the hair with your spray bottle. Use a strong stream and aim at the hair from an angle.
Sometimes this works. Sometimes it doesn’t.
Longer hair will often stick to the adhesive and need more help.
Step 5: Use a Clean Squeegee Tip or Plastic Tweezers
If flushing doesn’t remove the hair, use the tip of a clean PPF squeegee to gently dislodge it.
You can also use plastic tweezers or a soft plastic tool if the hair is close enough to grab.
Avoid metal tools unless you are extremely experienced. The risk of scratching or damaging the film is higher.
Step 6: Pull the Hair Out
Once the hair is close enough to the edge, use a clean gloved finger or plastic tweezers to pull it out.
Do not leave it sitting near the edge or floating under the film. Fully remove it from the area before resetting the PPF.
Resetting the Film After Removing Hair or Dirt
Once the contamination is removed, don’t rush to squeegee everything down dry.
First, rehydrate the area with slip solution. Make sure the lifted section is wet enough to reposition and reset cleanly.
Then spray hot water over the film again. This can help the film relax and shrink back slightly, especially if it stretched while you were lifting it.
Use small, firm squeegee strokes to push the solution out. Work past the area where the dirt or hair was trapped. As a rule of thumb, squeegee about an inch beyond the repaired area so you don’t trap moisture or air around the old contamination spot.
Will the Mark Go Away?
Sometimes, yes. Sometimes, not completely.
After removing dirt or hair, you may see a faint mark where the contamination used to be. This can happen because the adhesive was sitting around that object for a while.
In many cases, the mark is just moisture or adhesive disturbance and will become less visible over time. Sunlight and heat can also help the film settle and self-heal.
However, if the hair or dirt was trapped for too long, it may leave a slight indentation in the adhesive. It may still look much better than having a visible hair or dark speck under the film, but it may not be 100% perfect immediately.
That’s why it’s best to fix contamination as soon as you notice it.
When Should You Leave It Alone?
This depends on the size and location of the contamination.
If it’s a tiny speck near a lower panel, rocker, or edge, you may decide it’s not worth disturbing the film. Lifting PPF always comes with some risk, especially if the panel has already started drying.
But if it’s a long hair in the middle of a hood, fender, or door, most people will want to fix it.
For professional shops, a visible hair often means the panel needs to be corrected or redone. For DIY installers, it comes down to what you can live with.
How to Prevent Dirt and Hair During Your Next PPF Install
The best fix is prevention. Dirt and hair usually come from three places:
- The car
- The installer
- The workspace
Here’s how to reduce contamination before your next install.
1. Wash the Entire Car, Not Just the Panel
Even if you’re only installing PPF on the front bumper or hood, wash the entire car first.
Dirt from nearby panels, wheel wells, tires, mirrors, trim, and crevices can move around while you’re spraying solution and handling film. Once it’s in the air or dripping from an edge, it can end up under your PPF.
Pay extra attention to:
- Panel gaps
- Fender edges
- Mirrors
- Door handles
- Badges
- Wheel wells
- Tires
- Lower rockers
- Edges around trim
The cleaner the whole vehicle is, the better chance you have of a clean install.
2. Clean Your Tires and Wheel Wells
Tires hold a lot of dirt. When you spray around the car, that dirt can splash, drip, or become airborne.
For cleaner installs, wash the tires and wheel wells thoroughly. Some installers also use tire covers during PPF installation to keep contamination from moving from the tires to the film.
3. Wear Clean Clothing
Your clothes can carry lint, dust, pet hair, and fibers. Before installing PPF, avoid fuzzy hoodies, dusty work shirts, or anything covered in pet hair.
A clean shirt, clean gloves, and a hat can make a big difference.
If you have pets, lint roll your clothing before starting.
4. Wear a Hat
Hair is one of the most frustrating contaminants because it’s easy to miss until the film is already installed.
Wearing a hat helps prevent your own hair from falling into the install area. It’s a simple habit, but it can save you a lot of frustration.
5. Keep Extra People Away From the Install Area
Every extra person in the space adds more dust, hair, lint, and movement in the air.
If someone isn’t helping with the install, it’s best to keep them away from the vehicle while the film is exposed.
This matters even more when the adhesive side of the PPF is open and wet.
6. Keep Your Tools Clean
Your squeegee, spray bottles, towels, gloves, and work surface should all be clean.
If your squeegee falls on the ground, clean it before using it again. A dirty squeegee can drag contamination directly under the film.
A simple bowl of clean water nearby can help you rinse your squeegee often during the install.
7. Use Clean Slip Solution
Contamination can also come from your slip solution.
Make sure your bottle is clean, your water is clean, and your soap is fully mixed. If you’re seeing small white specks, check whether your solution, bottle, or sprayer could be contributing to the problem.
8. Control the Install Environment
You don’t need a perfect professional clean room, but the cleaner the space, the better the result.
Try to install in an area that is:
- Indoors
- Out of direct wind
- Away from dust
- Away from pets
- Recently cleaned
- Temperature controlled when possible
Some shops use dedicated PPF bays or curtain-separated install areas to reduce airborne contamination.
Common Mistakes to Avoid
When removing dirt or hair from under PPF, avoid these mistakes:
- Pulling the film up too aggressively
- Lifting the film too high
- Letting the adhesive dry while lifted
- Touching the adhesive with bare hands
- Using dirty gloves
- Using a dirty squeegee
- Using metal tweezers carelessly
- Squeegeeing directly over the repaired area without rehydrating
- Forgetting to squeegee past the contamination spot
- Using boiling water
The goal is to disturb the film as little as possible while still removing the contamination.
Final Thoughts
Finding dirt or hair under your PPF can be frustrating, but it does not always mean the panel is ruined.
For small dirt specks, a careful lift and strong spray of slip solution can often flush the debris out. For hair, you may need to hydrate the area, gently dislodge the hair, and pull it out with clean gloves or a soft tool.
The biggest keys are patience, clean tools, hot water, and keeping the film wet while you work.
And for the next install, remember: prep is everything. Wash the whole car, clean the tires, wear clean clothing, keep your tools clean, and control the environment as much as possible.
A clean install starts before the film ever touches the car.


