
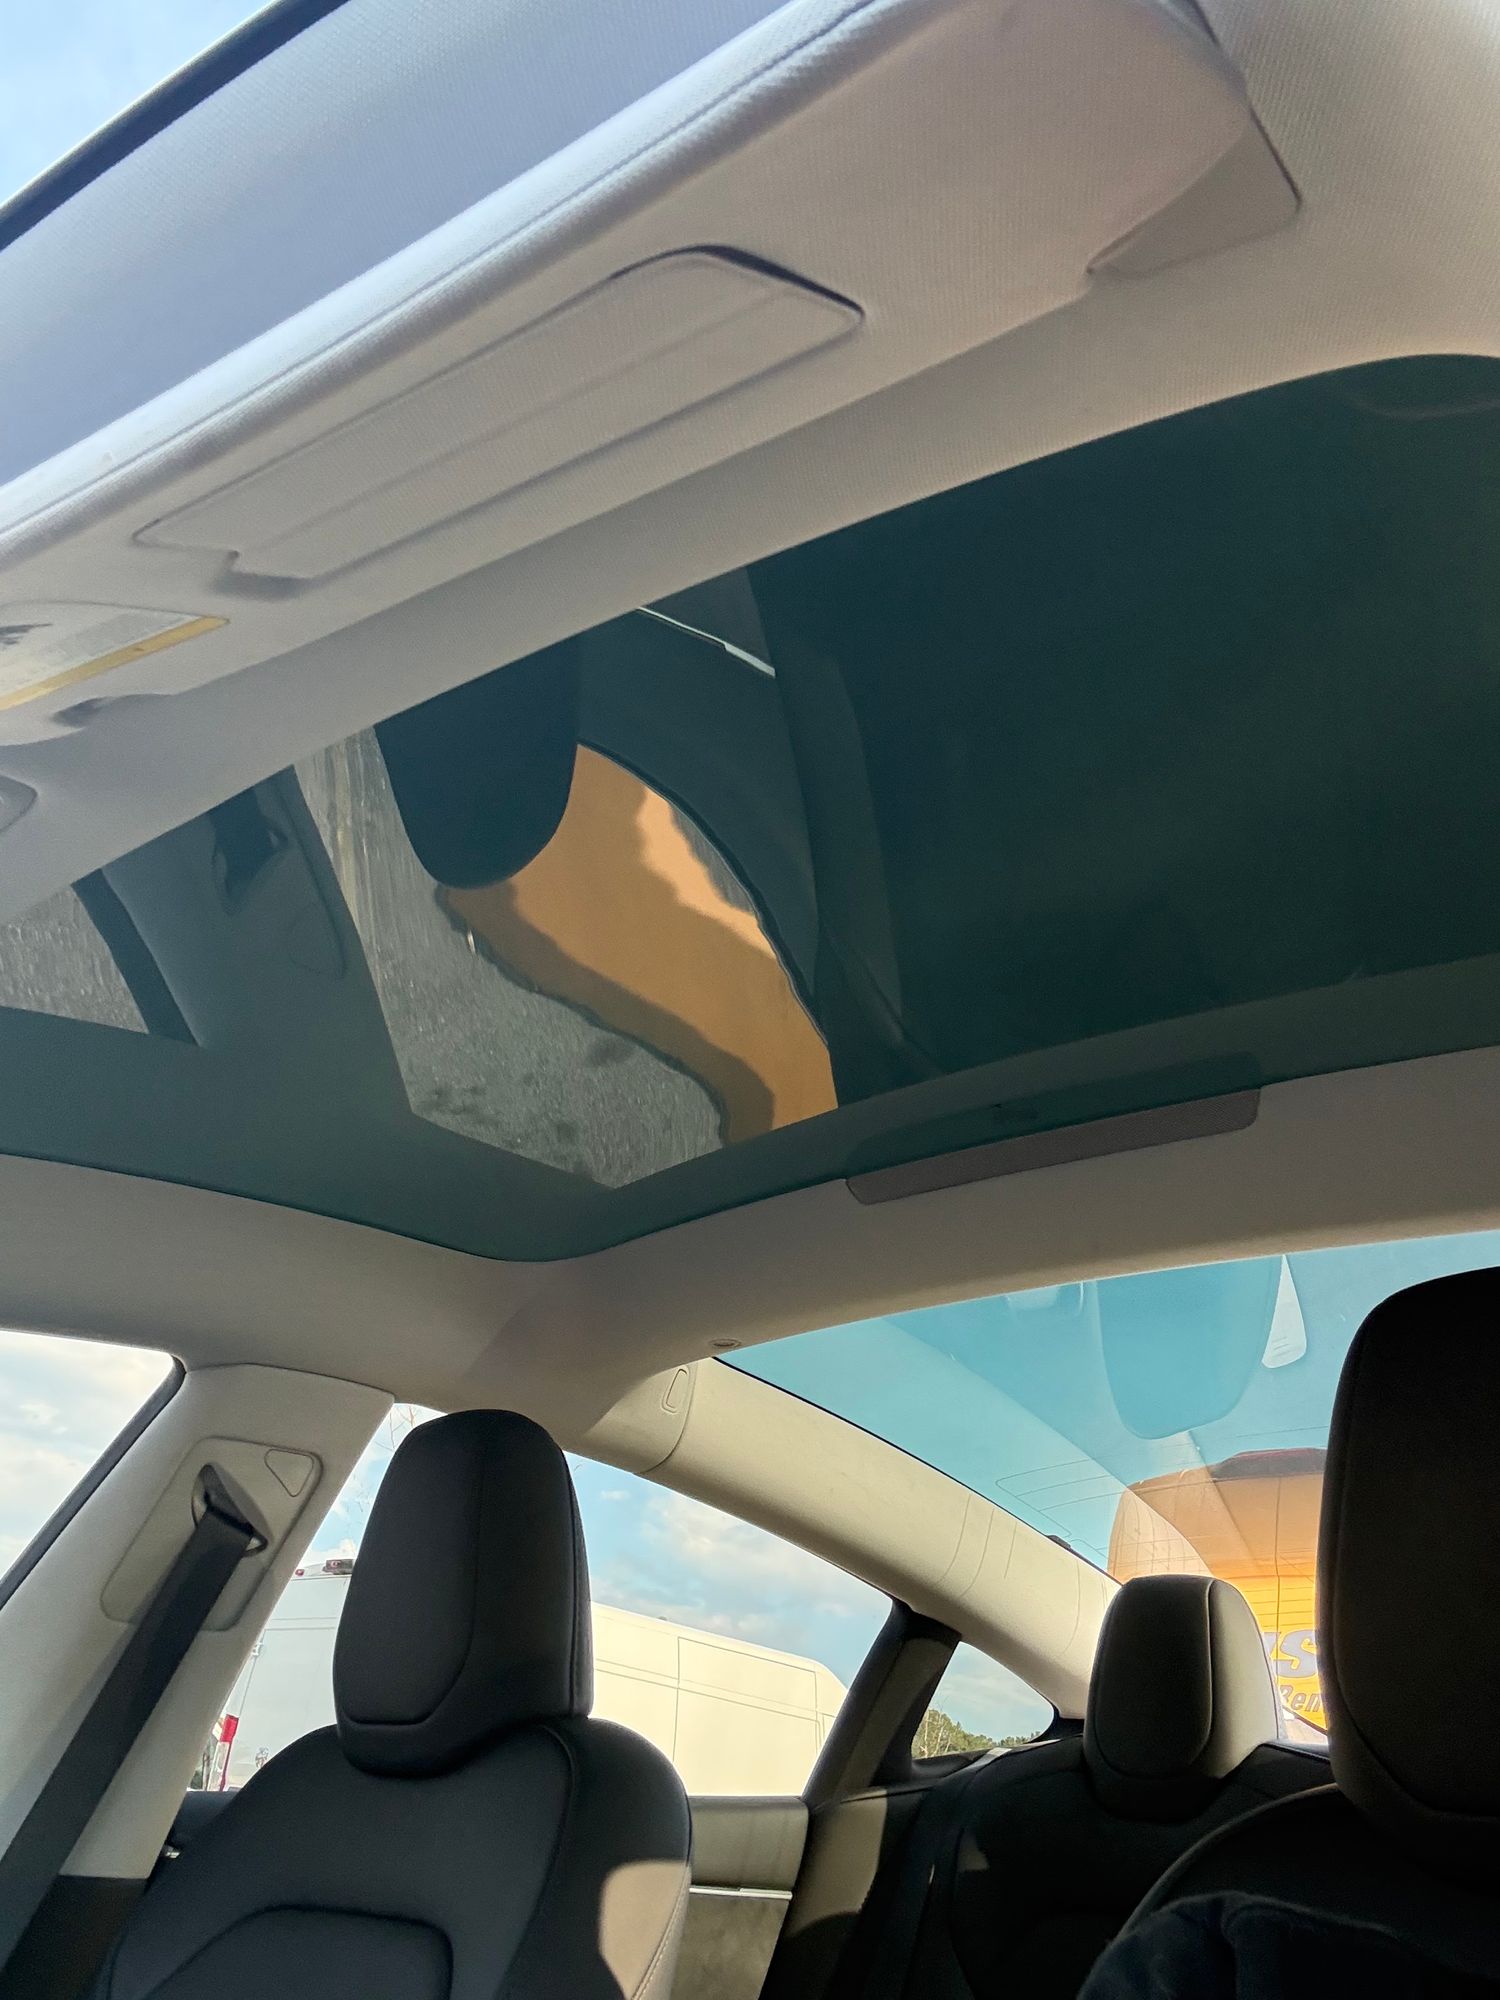
Anyone who’s driven a Model 3 through a hot summer knows the story. The fixed glass roof panel turns the front seats into a solar cooker. That same panel is also a single flying rock away from an expensive repair bill. DIY Tinted roof PPF (paint protection film) tackles both problems in one install. It cuts heat and adds a sacrificial layer over the glass.
Here’s a full breakdown of what it is and how the install actually goes.
What Is Tinted Roof PPF?
Tinted roof PPF is a tinted TPU (thermoplastic polyurethane) film. Installers apply it to the outside of the glass roof, not the inside like traditional aftermarket window tint.
That’s a meaningful difference. Interior tint installation means installers spray water and slip solution inside the cabin, close to headliner wiring and trim. That makes a DIY install riskier. Roof PPF installs on the exterior glass instead, so no water goes near the interior. The process resembles installing paint protection film more than tinting a window.
It’s also worth understanding how the two products behave differently. Installers shrink traditional tint film into place. This film stretches into place instead, like PPF.
On top of the tint, the film doubles as a protective layer. Any rock or debris strike hits the film first, not the glass.
The film is engineered around Tesla’s laminated roof glass and its thermal expansion behavior. A generic tint or PPF product isn’t built for thermal expansion, which is why we worked with our manufacturers to create a roof-specific kit.
Why the Model 3’s Roof Needs Extra Protection
The Model 3’s roof glass panel takes a beating from two directions:
- Direct heat: The panel sits right over the driver and front passenger. Many owners still feel heat radiating down, even with Tesla’s factory glass coating.
- Rock chips and cracks: A highway rock strike can crack unprotected glass. A Model 3 glass roof replacement can run $1,600 or more out of pocket.
This isn’t a rare occurrence. Even an older, well-maintained car can pick up a chip over several years of driving.
Roof PPF acts as a sacrificial barrier between the glass and anything that hits it. A rock impact that would normally crack the glass instead just gets absorbed the film, a far cheaper fix.
Legacy Model 3 vs. Model 3 Highland: Know Your Kit
DIY Wrap Club provides two separate kits:
- Model 3 Legacy (2017–2023): Standard Range, Long Range, and Performance trims. Cut specifically for the original center glass roof panel.
- Model 3 Highland (2024–2026+): RWD, Long Range, and Performance trims. Cut for the redesigned Highland center roof panel.
Confirm your model year and trim before ordering.
Choosing Your Tint: Black or Blue
This kit comes in two shade options. Pick based on how dark you want the roof to look:
- 17% VLT (black): A true black, noticeably darker tint. VLT stands for Visible Light Transmission. A lower number means less light passes through, so 17% looks significantly darker and more opaque.
- 71% VLT (light blue): A much lighter tint with a subtle blue hue. At 71%, most of the light still passes through. From inside the cabin, you’ll barely notice a visual difference — you mainly get the functional benefits.
Both options carry the same protective performance: about 99% UV rejection and up to 95% IR (infrared heat) rejection. Choosing between them comes down to personal preference. How dark do you want the roof, and how noticeable do you want the tint itself?
What’s Included in the DIY Kit
DIY Wrap Club builds each kit for a first-time installer. It typically includes:
- Pre-cut tinted PPF, sized for your specific Model 3
- Slip solution concentrate
- 2 premium slip and tack spray bottles
- Scrubby pad for cleaning
- Premium squeegee
- Step-by-step video installation walkthrough
- Installer support if you need direct guidance
How Installation Actually Works
Here’s what the process looks like:
- Let the car sit indoors first. Cooling the glass before you start matters. Installing on a hot, humid roof makes the film stickier and harder to position.
- Roll out the film and release the liner. A second person helps, though you can do this solo. You pull the liner off gradually as you lay the film down.
- Tack the corners, then the middle. Use the palm technique: pull with the flat of your hand, not your fingertips. Tack down a corner first, and check for overhang past the edge. Then work the middle using warm water to help it release and settle.
- Squeegee with firm, overlapping strokes. Anchor the middle first, then work outward, pushing the water out of the edges. Do 50% overlapping strokes to ensure you don’t miss any spots.
- Do a finger test at the edges. Installers check that the film sits right at the edge of the glass, never past it. Overhanging film catches debris and peels prematurely.
- Let it fully set. Right after installation, a slight haze appears. It clears up as the adhesive cures once the car sits back outside in the sun for about 24 hours.
Install it correctly, and the film should hold up for roughly 5-7 years.
Is Tinted Roof PPF Worth It?
Do you deal with a lot of heat coming through the roof? Do you park outside regularly, or just want a cheaper fallback than a full glass replacement after a rock strike? Tinted roof PPF solves for heat, UV, and impact protection in a single install. And it skips the water-near-interior risk that comes with traditional inside-installed tint.
With both a 17% and 71% VLT option, you dial in exactly how dark you want the look. Either way, you get the same UV and IR rejection.
Rear Windshield Tinted PPF
DIY Wrap Club also offers a rear windshield glass tinted PPF option at 71% VLT. We’re keeping it light on purpose. A darker tint there raises real safety concerns for rear visibility, plus you might run into restrictive tint laws. Even though it’s light blue, you’ll still get ultimate protection and heat rejection.
Check out our video on installing the rear windshield tinted PPF:
Subscribe to our YouTube channel for more tips and updates on tinted roof PPF.


