- | / Save up to % Save % Save up to Save Sale Sold out In stock


Free Continental U.S. Shipping $99+
New Owners Offer
Getting a New Vehicle Delivery? Get 25% off and a free gift!
Claim Your New Owners Offer

Beginner Friendly
.svg?v=144615871337664008991737747827)


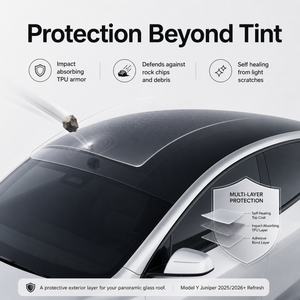
Protect your investment, cool down your cabin, and elevate your ride's look. The Tesla Model Y Juniper features a massive, gorgeous panoramic glass roof—but it’s also a magnet for high-velocity road debris and intense solar heat. A single flying rock can instantly cause a crack, leading to an unexpected, headache-inducing $2,000 glass replacement bill.
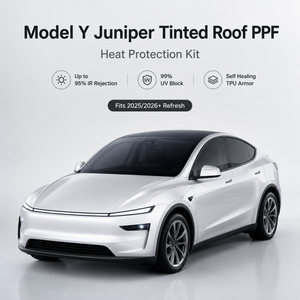
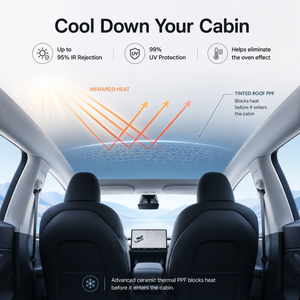
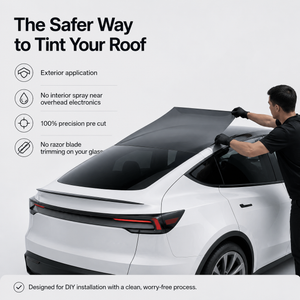
Our Tesla Model Y Juniper Tinted Roof & Rear Windshield Protection Kit is a true multi-purpose upgrade. Unlike standard tinted films that only darken the glass, this premium TPU-based paint protection film features advanced ceramic heat-rejection technology to actively block thermal energy before it ever enters your cabin.
Designed specifically for the refreshed Tesla Model Y architecture:
| Material Base | High-Performance Premium TPU (Thermoplastic Polyurethane) |
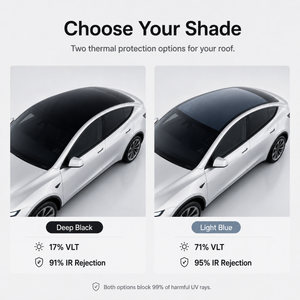
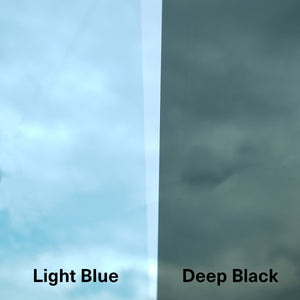
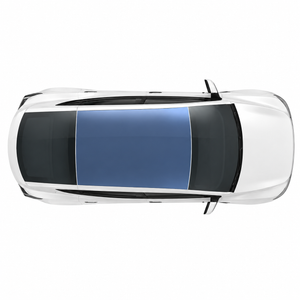
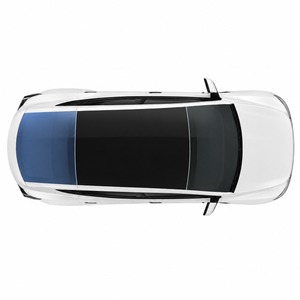
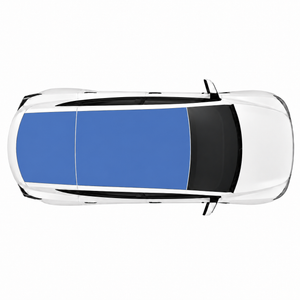
| Shade Options | Deep Black (17% VLT) or Light Blue (71% VLT) |
| Infrared Heat Rejection (IRR) | 91% (Deep Black) / 95% (Light Blue) |
| UV Protection | 99% Blockage across all shades |
| Properties | Self-Healing, High Impact Armor, Hydrophobic Top-Coat |
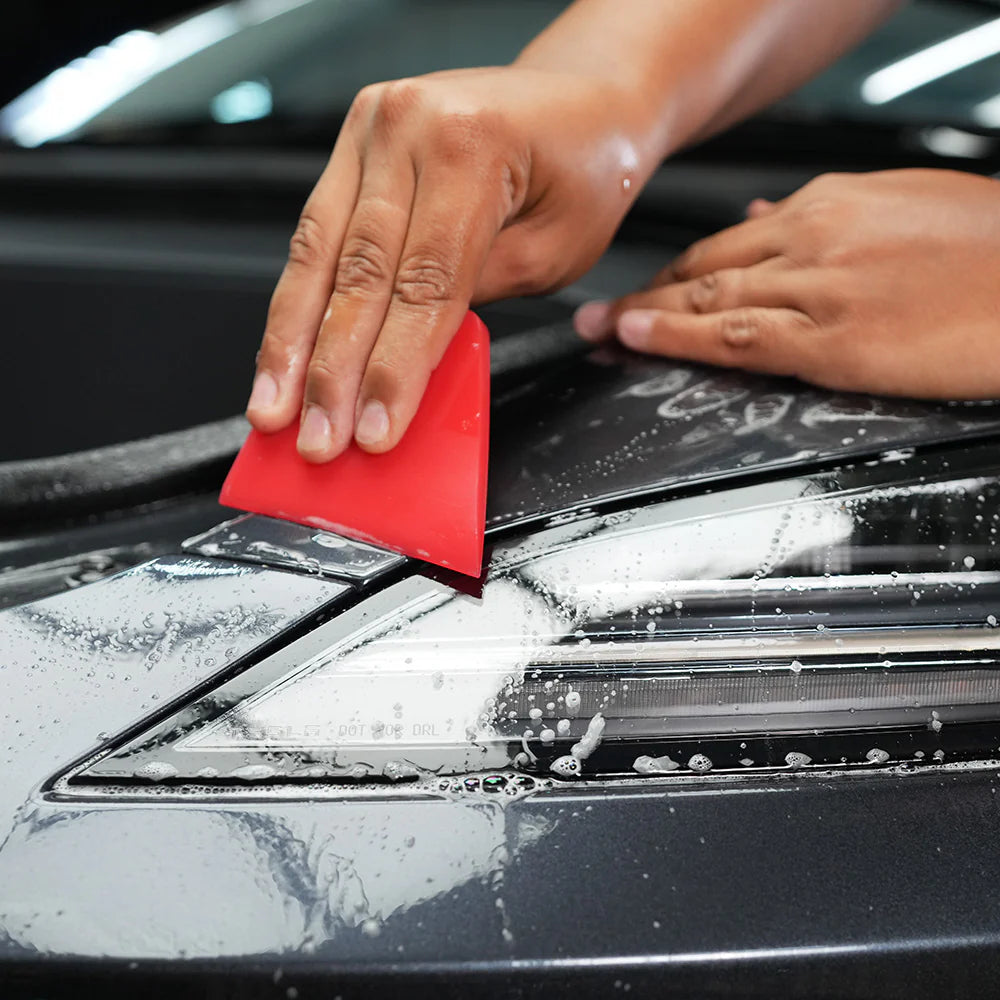
Most customers install this themselves. We recommend watching the how to video to ensure correct usage.
Watch Installation@teslabros
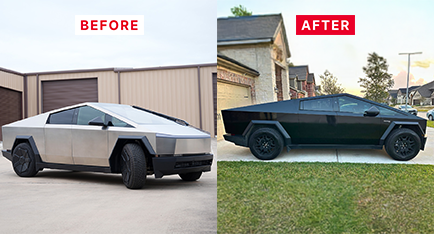
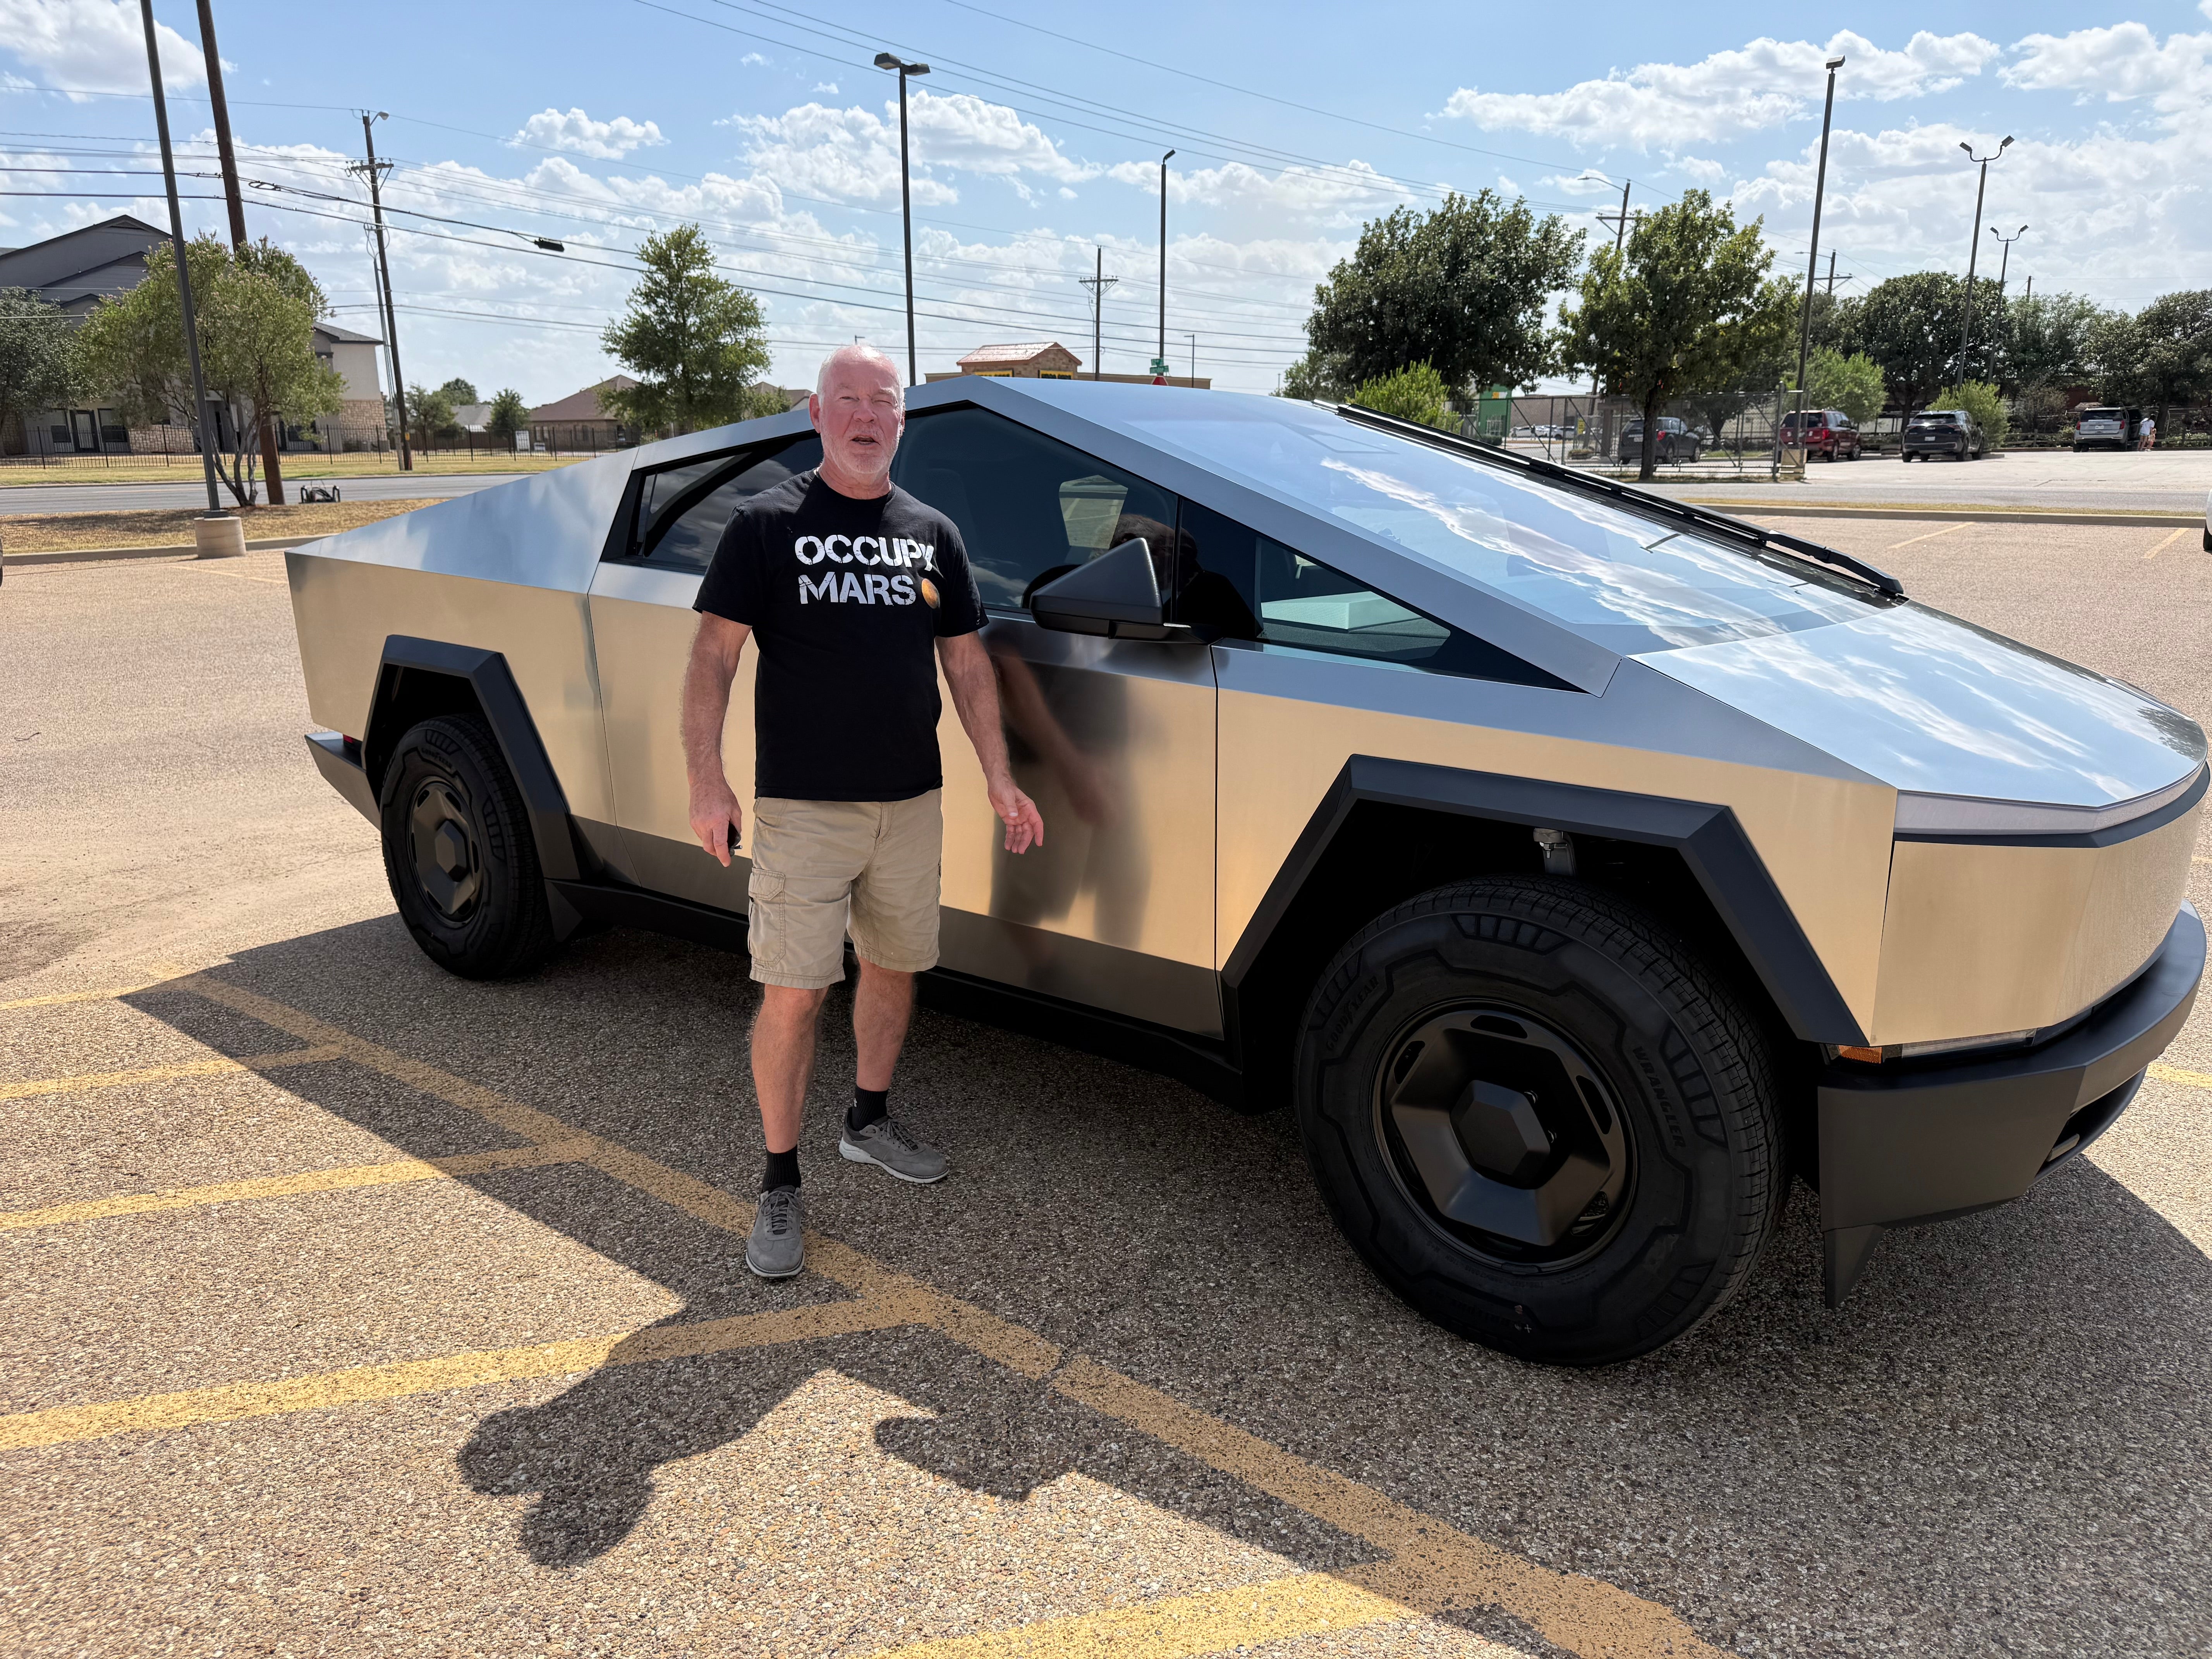
Exceptional!!!! This was 100% amazing! You guys are super with communication and I appreciate how you helped me out when I ruined one of the pieces. My Cybertruck looks amazing now and everyone keeps asking how I changed it to black!
Daniel
united states
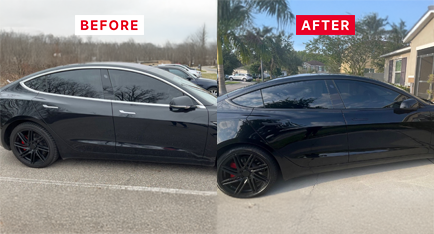
Amazing! The instructional videos were so helpful and covered every step required for applying. Easy to follow along. Some pieces take a little more time and attention. Overall love it!
Jordann
united states
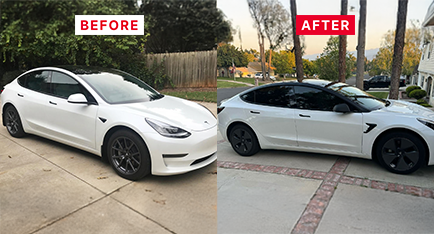
Transformed!! I really wanted to stand out from all the other white model 3s, so I ordered the pillar delete. Everything was pre-cut to fit. This was my first time applying and I couldn't be more happier with the results. The kit came with all the tools needed. Excellent product and excellent service with Tesbros!
Edward
united states
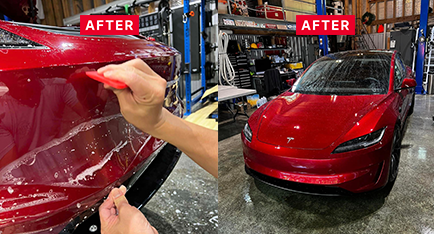
M3P install this past weekend, first timer. Experience overall was good...having a 2nd person helps a lot. Glad it’s done and protected, cheers!
Alex
united states
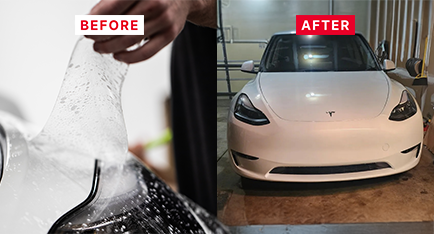
Fantastic Product. This kit was top notch quality from packaging to tutorial vids, tools and film. The application was very doable for the DIY novice and I'm super impressed with my results. Definitely will recommend..10 out of 10 plus 10!
Michele
united states
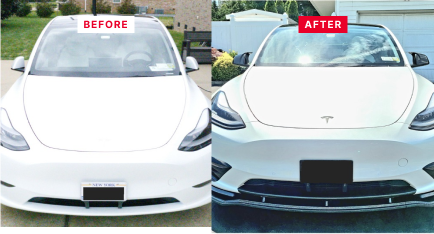
Protection kit works and easy DIY instructions. Great product!
Tiffany
united states
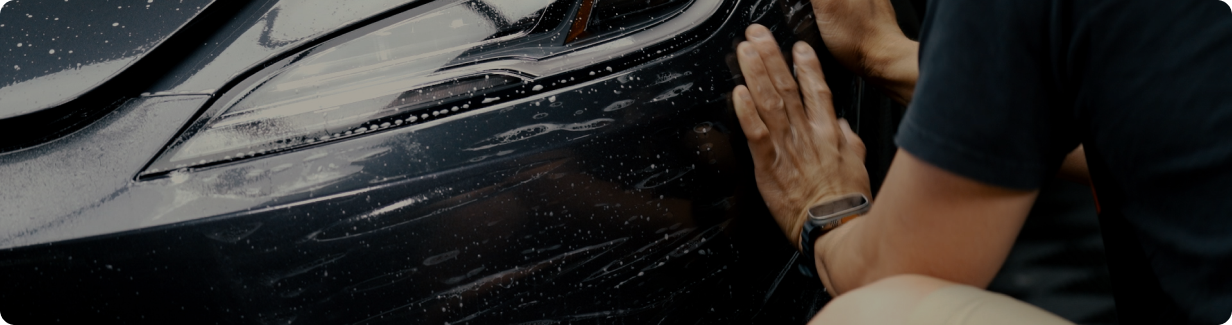
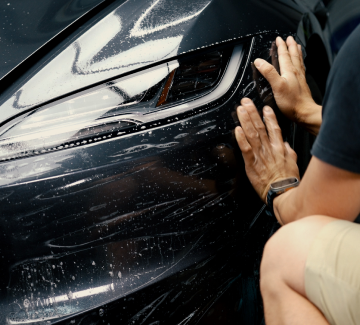
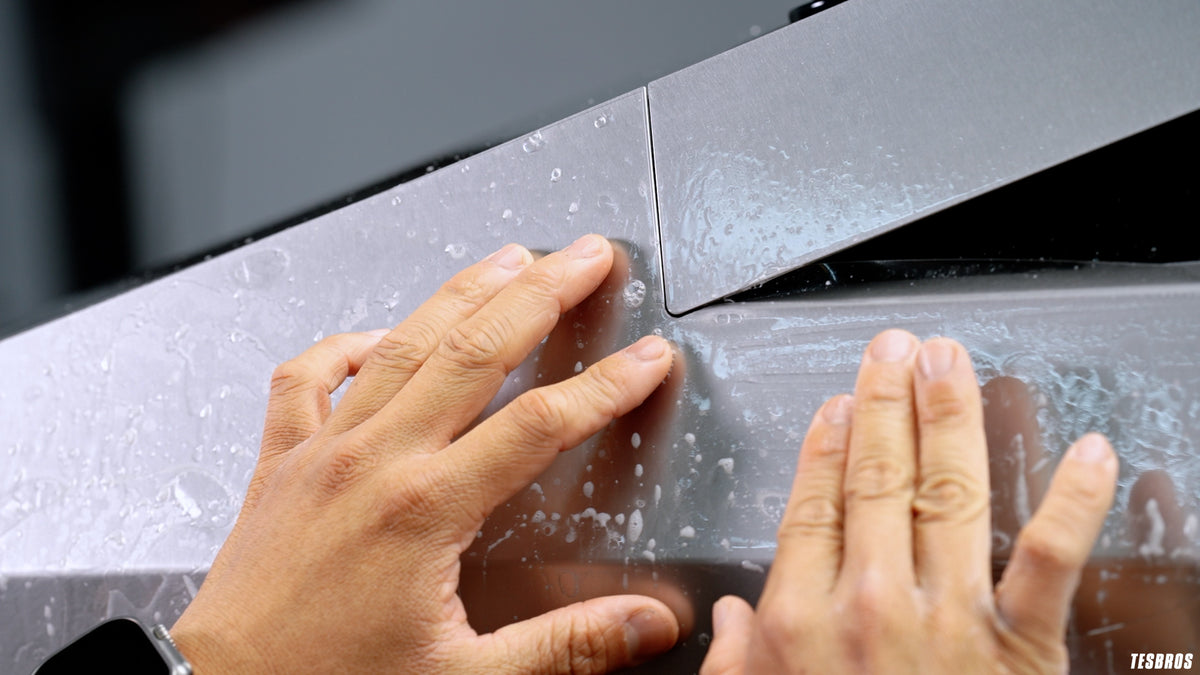
Our DIY Protection Kit offers durable, easy-to-apply materials to shield your Tesla from everyday damage.
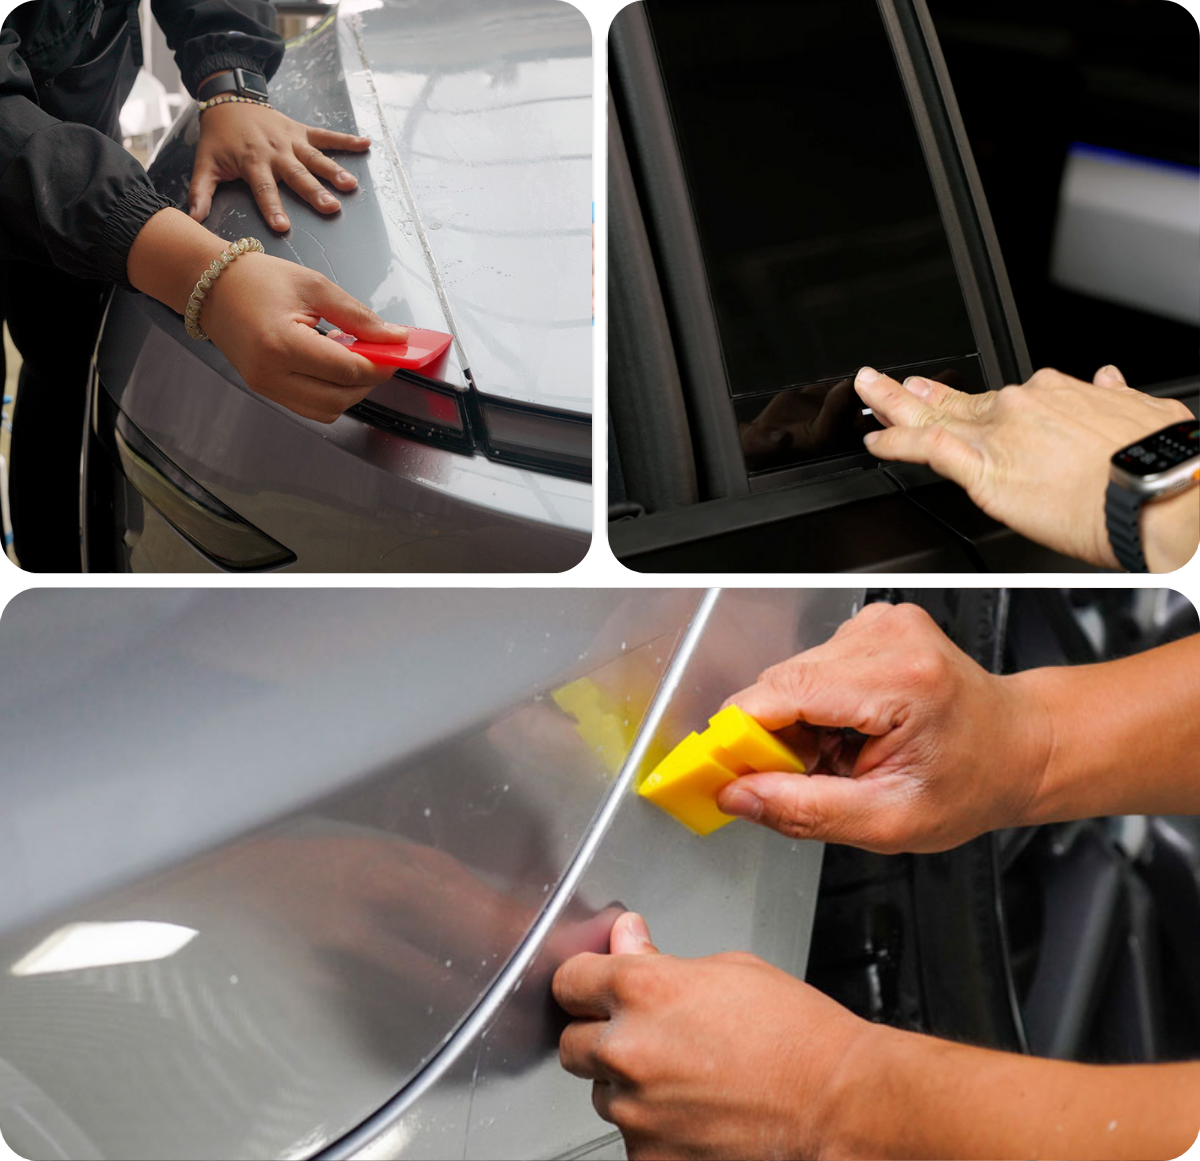
Shields key spots like door handles, mini rockers, and B-pillars from scratches, chips, and daily wear.
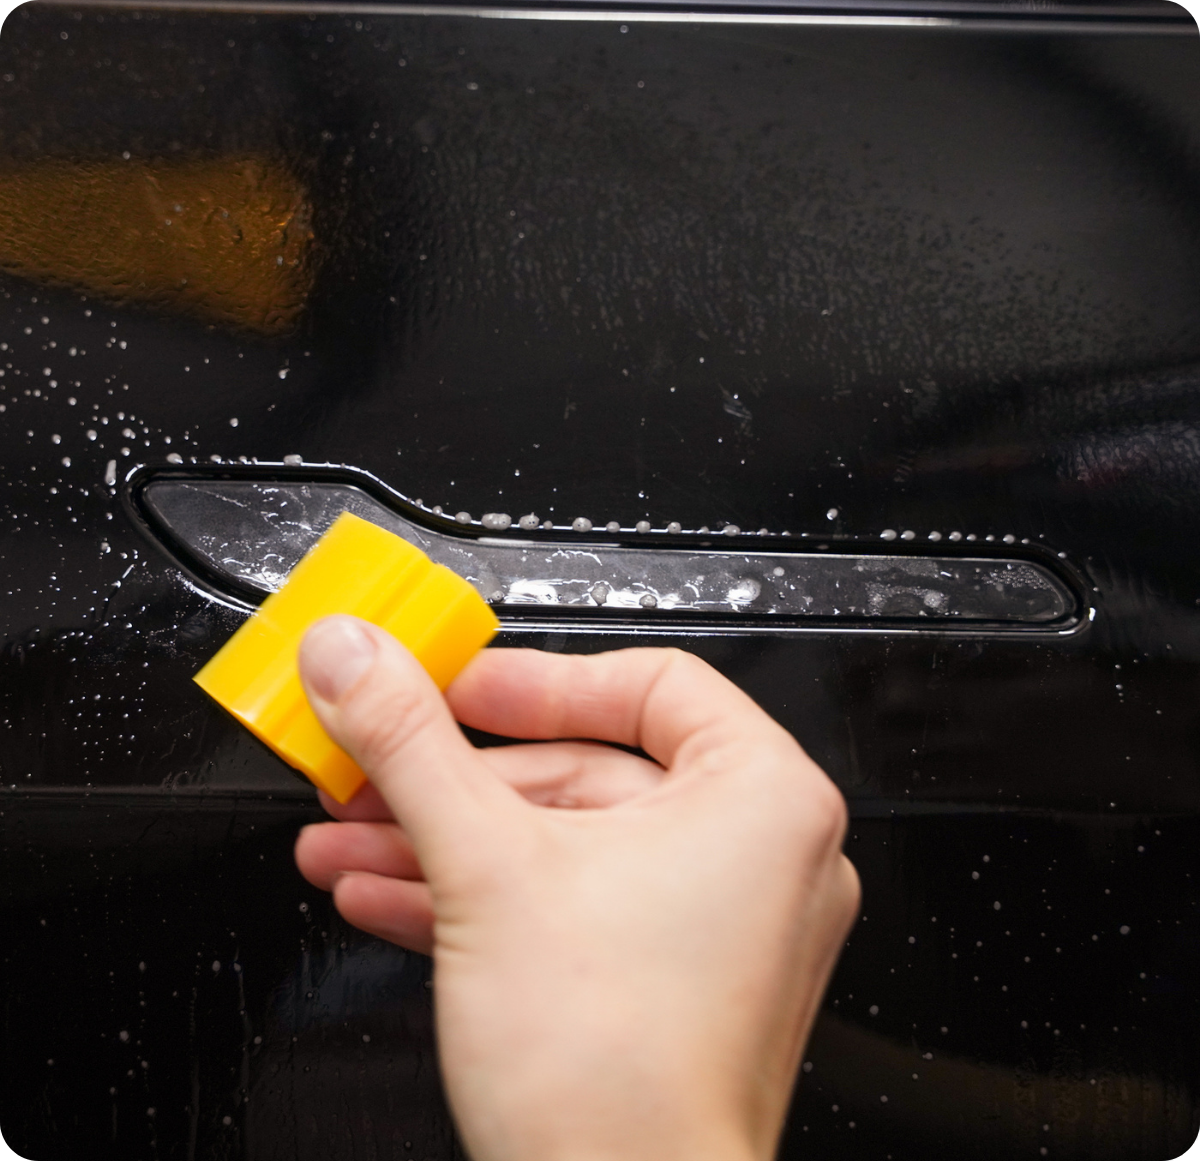
Our protection film is lightweight yet durable, making application a breeze.
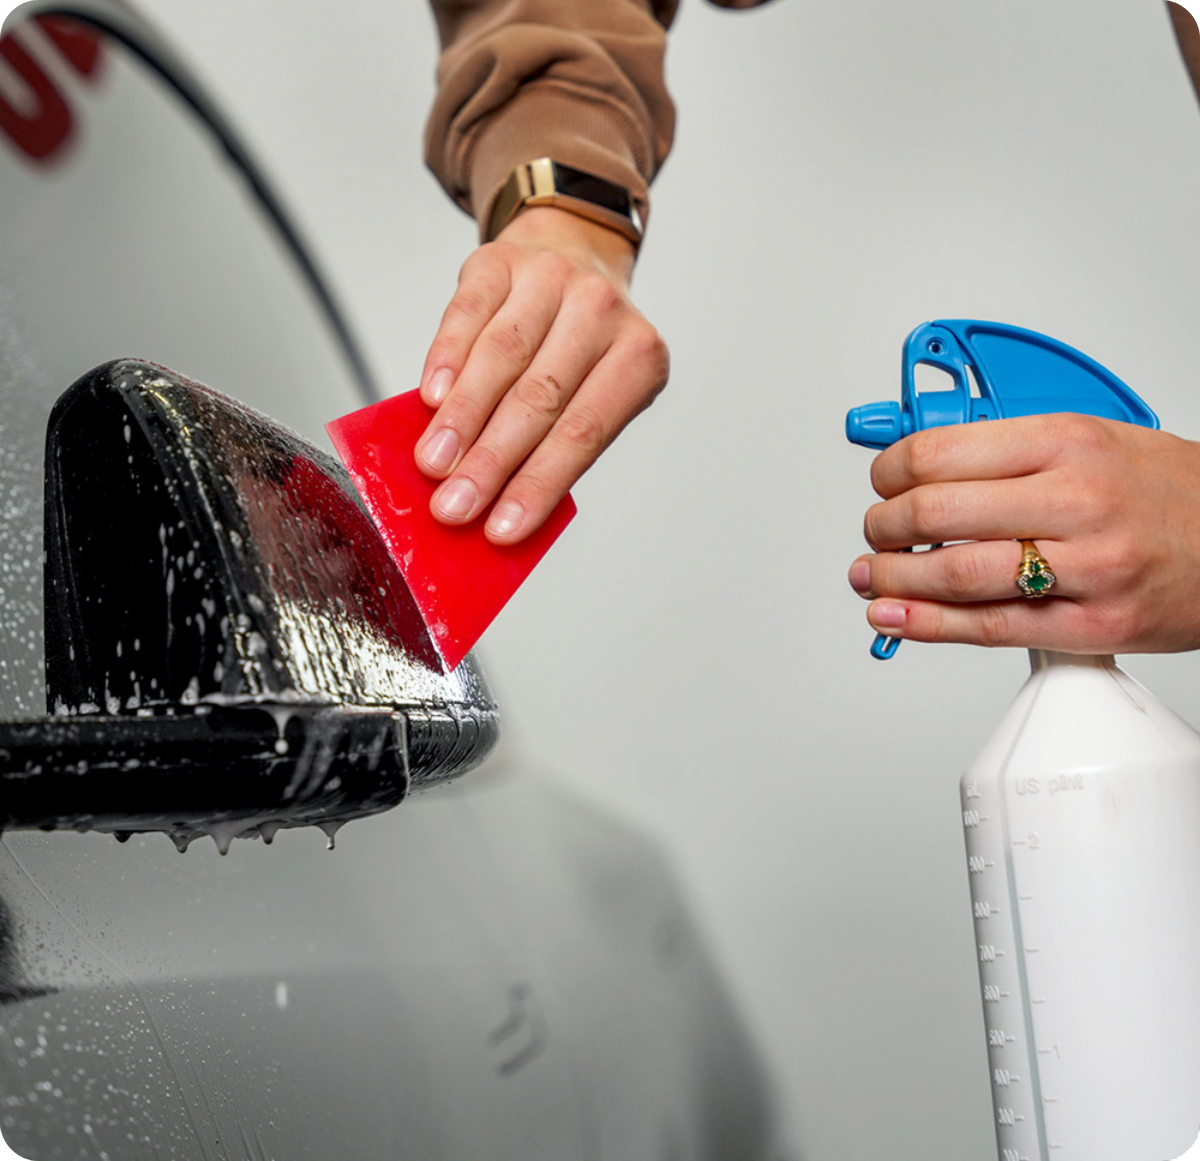
Each piece is precision cut for a seamless fit on your Tesla’s most vulnerable small surfaces.
Your Pre-Cut PPF Protection
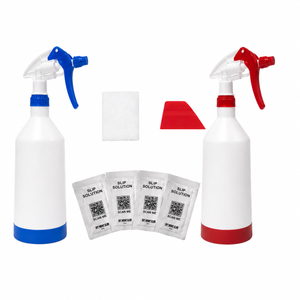
All Required Tools Included
Step-by-Step Installation Guide