Free shipping on Continental USA orders $99+ | Need help? Email us at support@diywrapclub.com or text us at 423-529-2421 | Helping 200,000+ DIY installers since 2018. Shop Now

    Tinted Headlight and Foglight Protection - PPF for Model X

    • Protect & Prevent Scratches
    • Installation Tools Included
    • Precise fit for your Tesla

    Tinted Headlight and Foglight Protection - PPF for Model X

    • Protect & Prevent Scratches
    • Installation Tools Included
    • Precise fit for your Tesla

    Beginner Friendly

    Free Video Guides

    All Tools Included

    MADE IN USA

    Elevate the aesthetics of your Tesla Model X while providing elite-level protection with our Boring PPF Tinted PPF Kit. Unlike standard clear films, this premium kit features a subtle smoked finish that adds a custom look to your front end. This precision-cut DIY kit includes coverage for both headlights and fog lights on the driver and passenger sides, shielding these expensive components from rock chips, pitting, and road debris.

    Light Transmittance Notice: This film features 45% Visible Light Transmission (VLT). While designed to maintain high clarity and allow for significant light output, please check your local and state laws regarding tinted lens covers on public roadways before installation.

    Key Product Features

    • Premium Boring PPF Tint Material: Features a high-performance, tinted TPU that offers a "smoked" aesthetic without the bubbling or fading associated with traditional vinyl tints.
    • High Light Transmittance: Engineered for optimal performance, the 45% VLT allows for clear illumination, ensuring your Model X retains its lighting functionality while looking unique.
    • Self-Healing & Hydrophobic: The top-coat technology heals minor scratches and repels water and dirt, making your headlights easier to clean and maintain.
    • Precision-Cut Engineering: Specifically designed for Model X Headlights and Fog Lights, providing a perfect fit with no cutting or trimming required near your vehicle.
    • Long-Term Durability: Backed by a 7-Year Warranty against yellowing, cracking, or delamination.

    What's Included in Your Tinted Lighting Kit

    • Headlight & Fog Light PPF: Four (4) precision-cut Boring PPF Tint panels covering the front driver and passenger side lighting.
    • Installation Essentials: Includes a professional squeegee, slip solution, and dual spray bottles for a perfect, professional-grade application.
    • Exclusive Video Access: Step-by-step Video Library tutorials specifically for installing thick headlight PPF on the Model X.
    • Live Support: Direct access to our support team for installation guidance and technical help.

    Vehicle Fitment & Compatibility

    • Fits: All Tesla Model X Years — Compatible with Standard, Long Range, and Plaid trims.

    Material & Technical Quality Specs

    • Film Material: Boring PPF Tint (TPU) – A premium, multi-layered tinted paint protection film.
    • Light Transmission: 45% VLT – Designed for aesthetic enhancement with maximum light throughput.
    • Warranty: 7-Year Manufacturer Warranty for long-lasting clarity and finish.
    • Adhesive: High-Tack Acrylic Adhesive – Specifically formulated to bond to curved lighting lenses while allowing for safe removal.

    Can I install PPF over ceramic coating?

    Unfortunately, PPF will not adhere to ceramic coating. We do not recommend installing if you already have a ceramic coat.

    How long should I wait to drive my Tesla after installing PPF?

    We highly recommend waiting at least 24 hours before driving. This ensures your PPF has had time to adhere fully so water and debris can’t get under the surface.

    What temperature should I install PPF?

    PPF is best installed in temperatures between 65 and 75 degrees F. If it’s too cold, it may feel stiffer. If it’s too hot, it’ll stretch more.

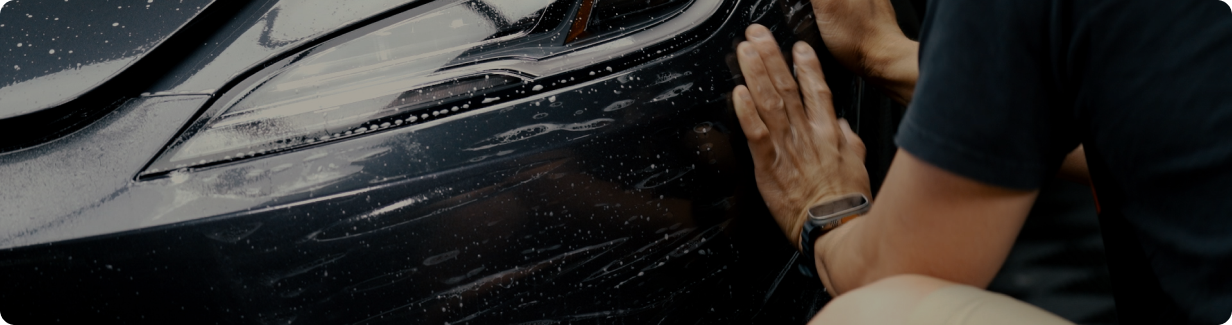
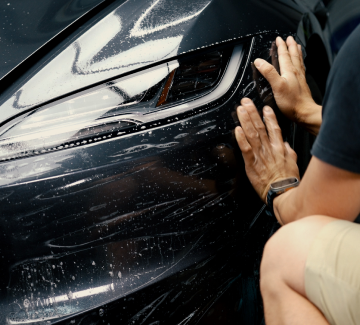
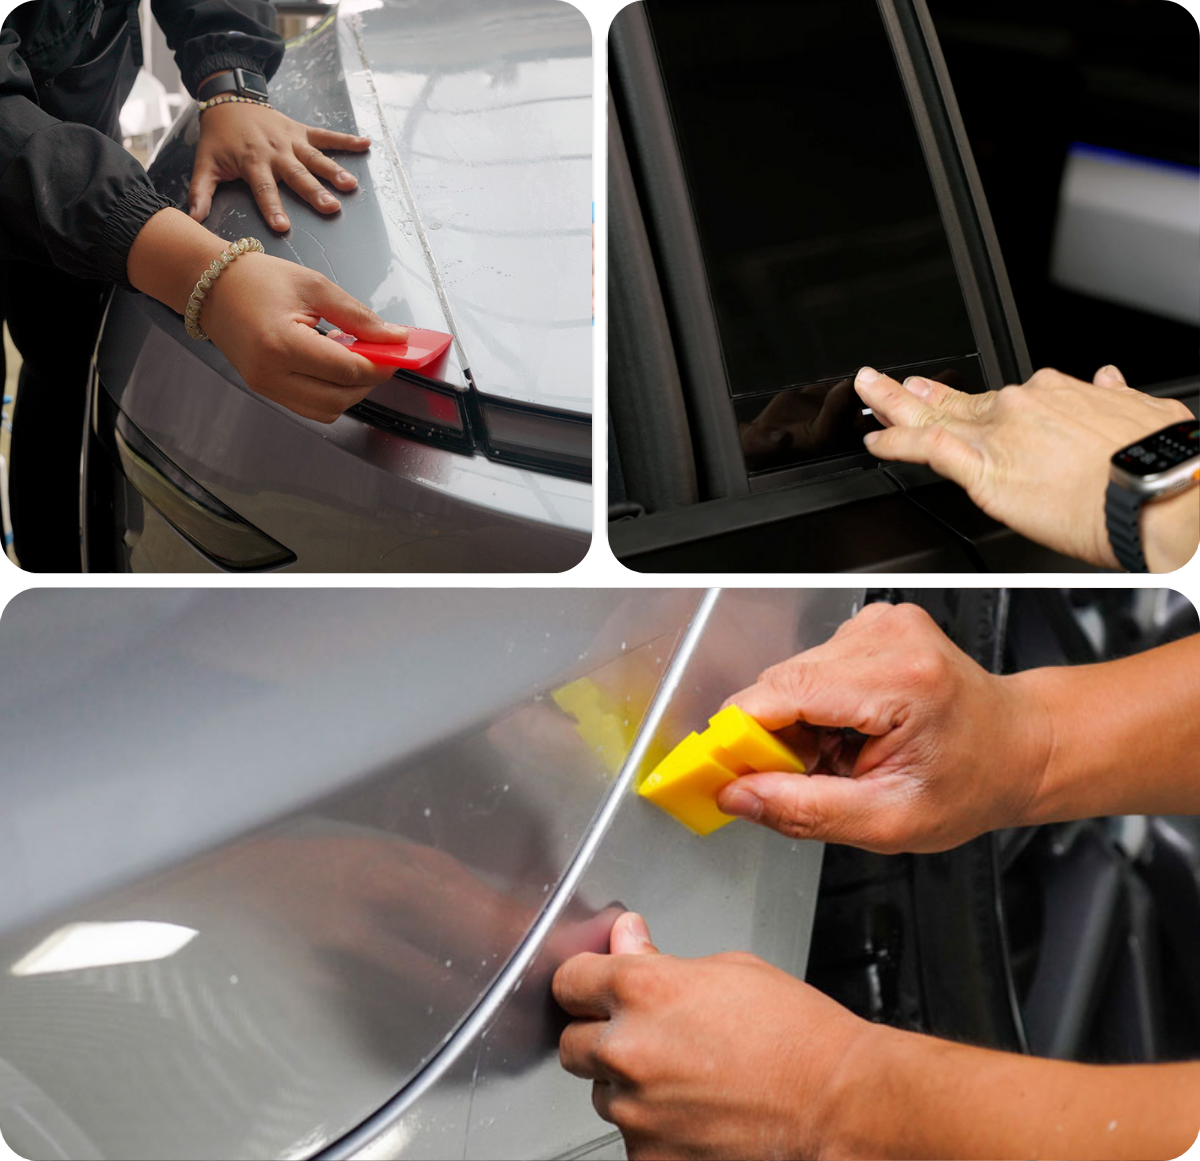
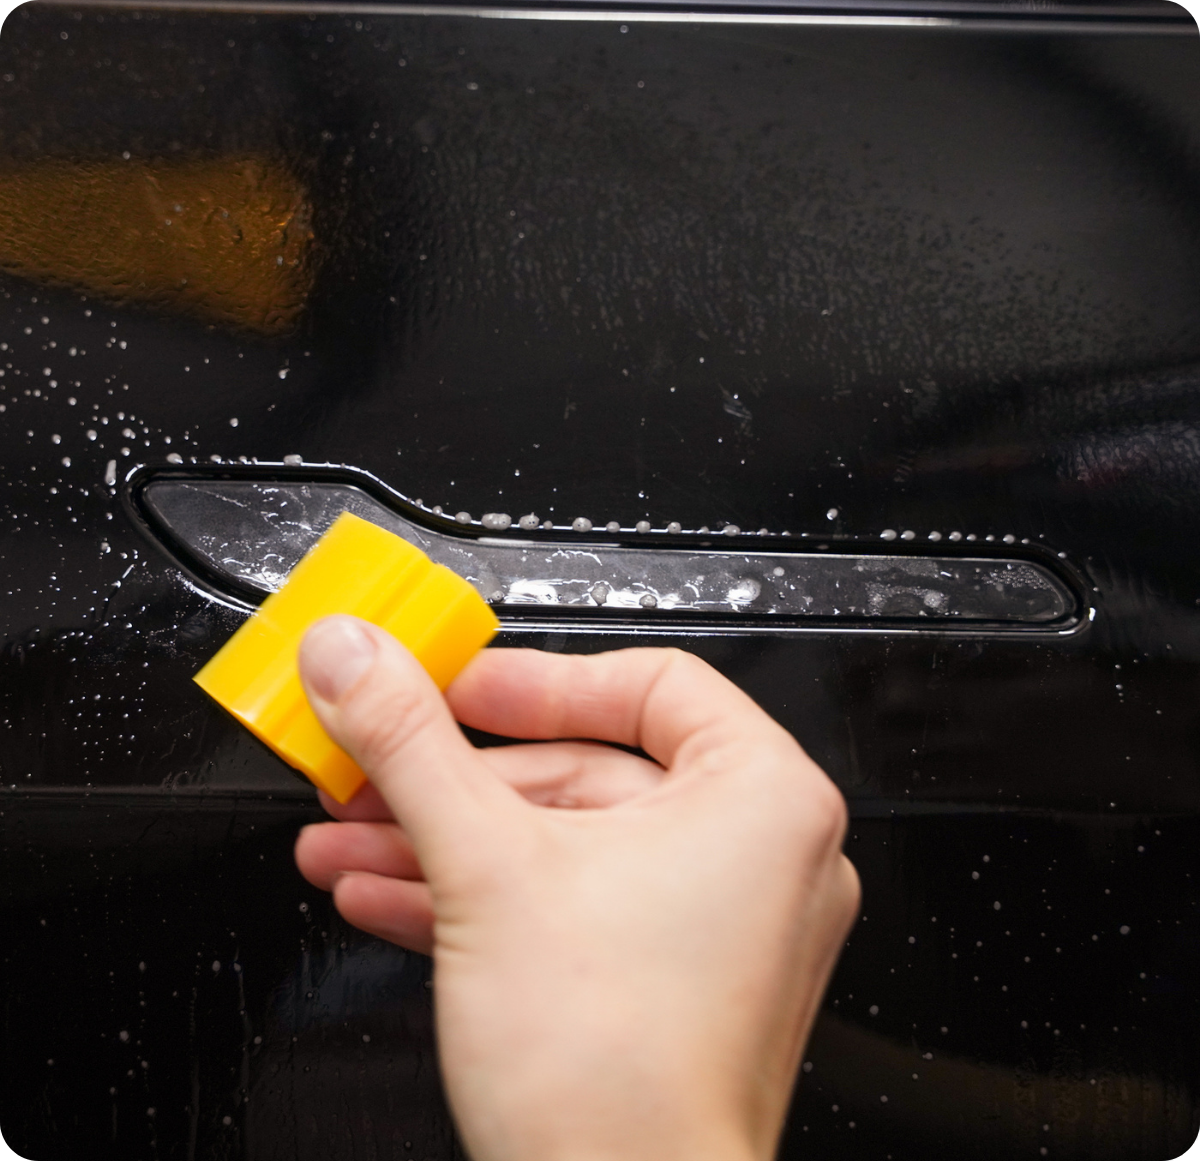
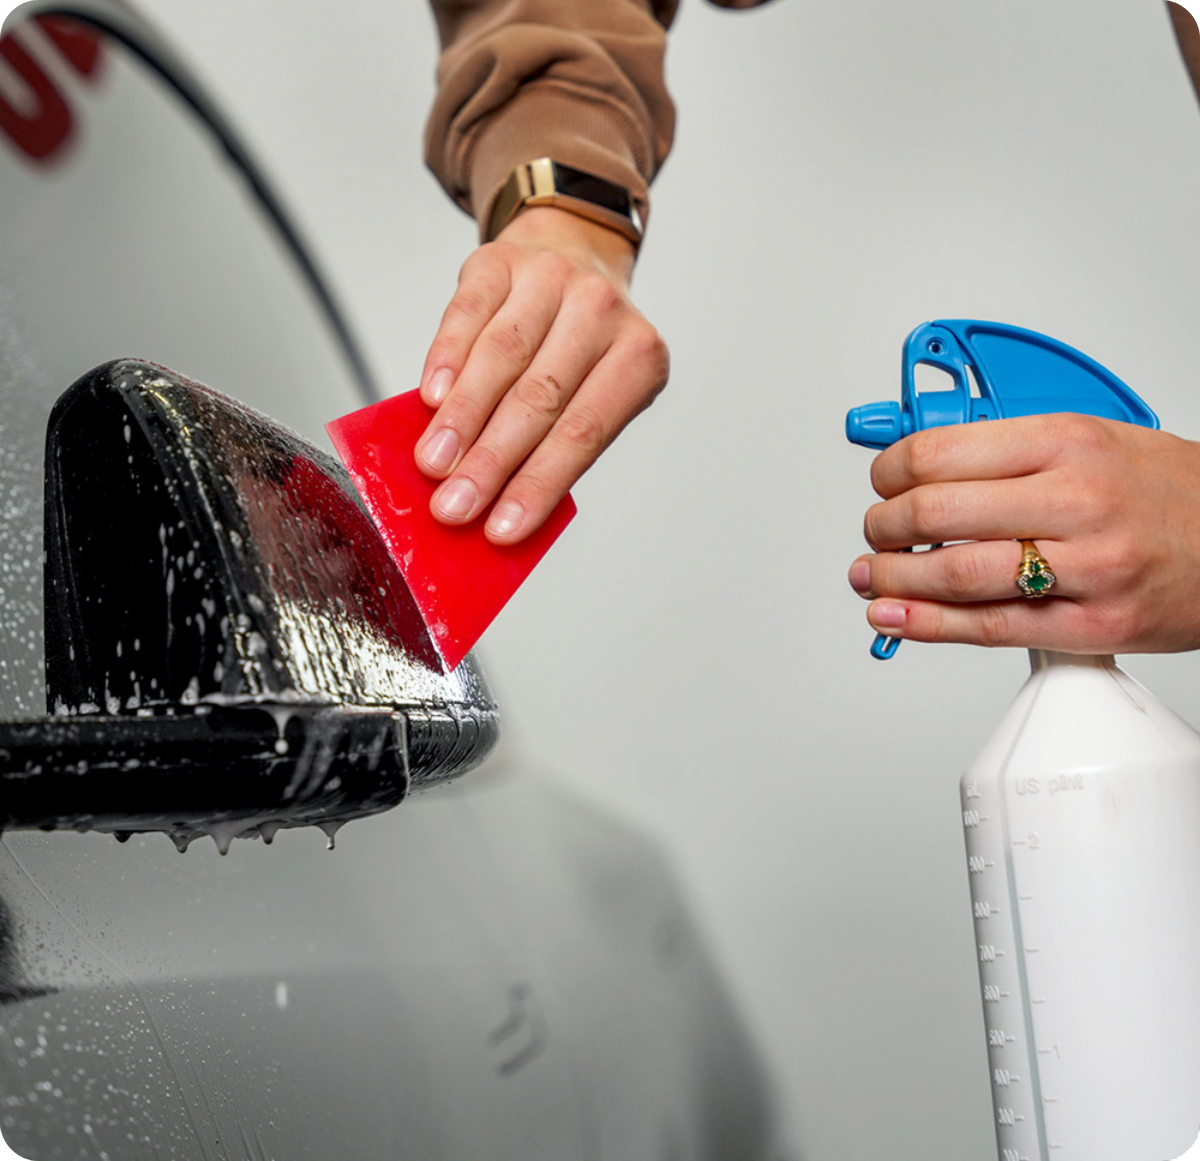
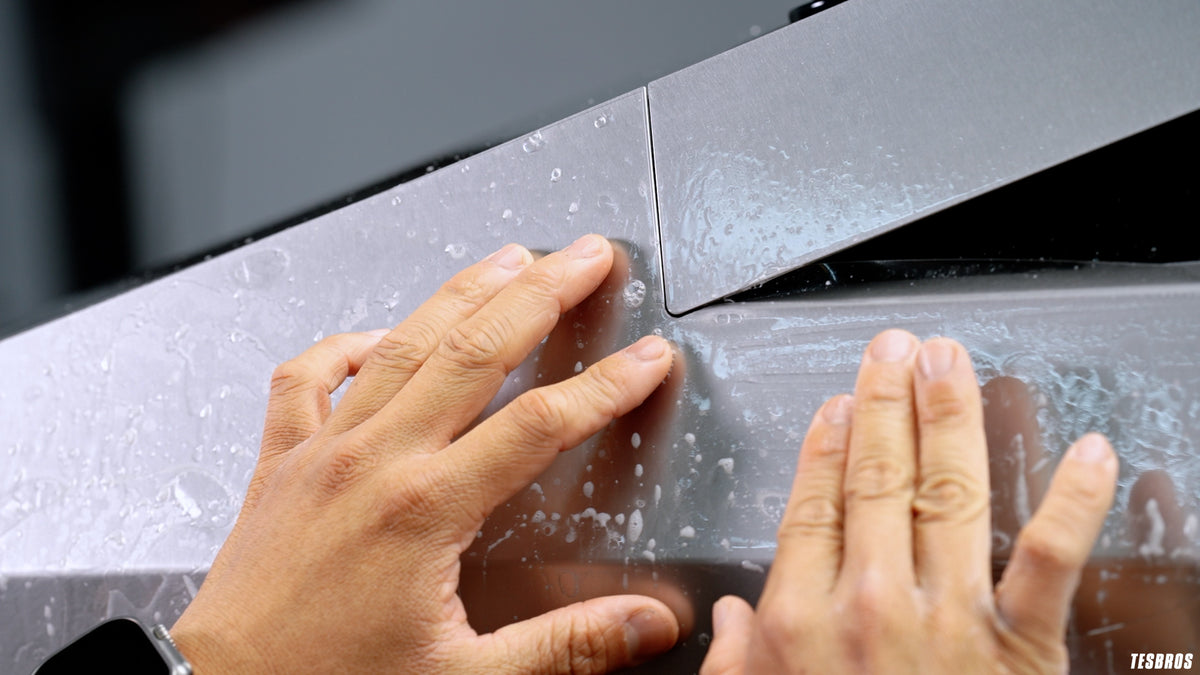
    How do I remove wrinkles (also called fingers) when installing?

    If it’s a small finger, the easiest way to push it down is to use your tack solution and then push it down with your squeegee. If it persists, wrap your squeegee with microfiber and squeegee it down. The microfiber will absorb the water, making it tackier.

    Is it okay to leave small bubbles when installing?

    If it is larger than a nickel, you want to lift the PPF and squeegee it down again. If it’s smaller than a nickel, it should dissipate and evaporate within time.

    How long should I wait before cleaning my Tesla after installing it?

    We recommend waiting at least 24 hours but 48 hours to be safe.

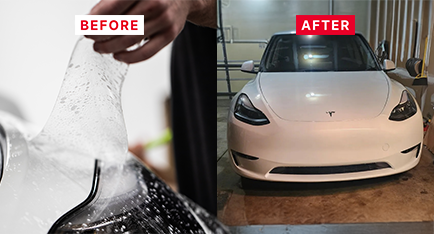
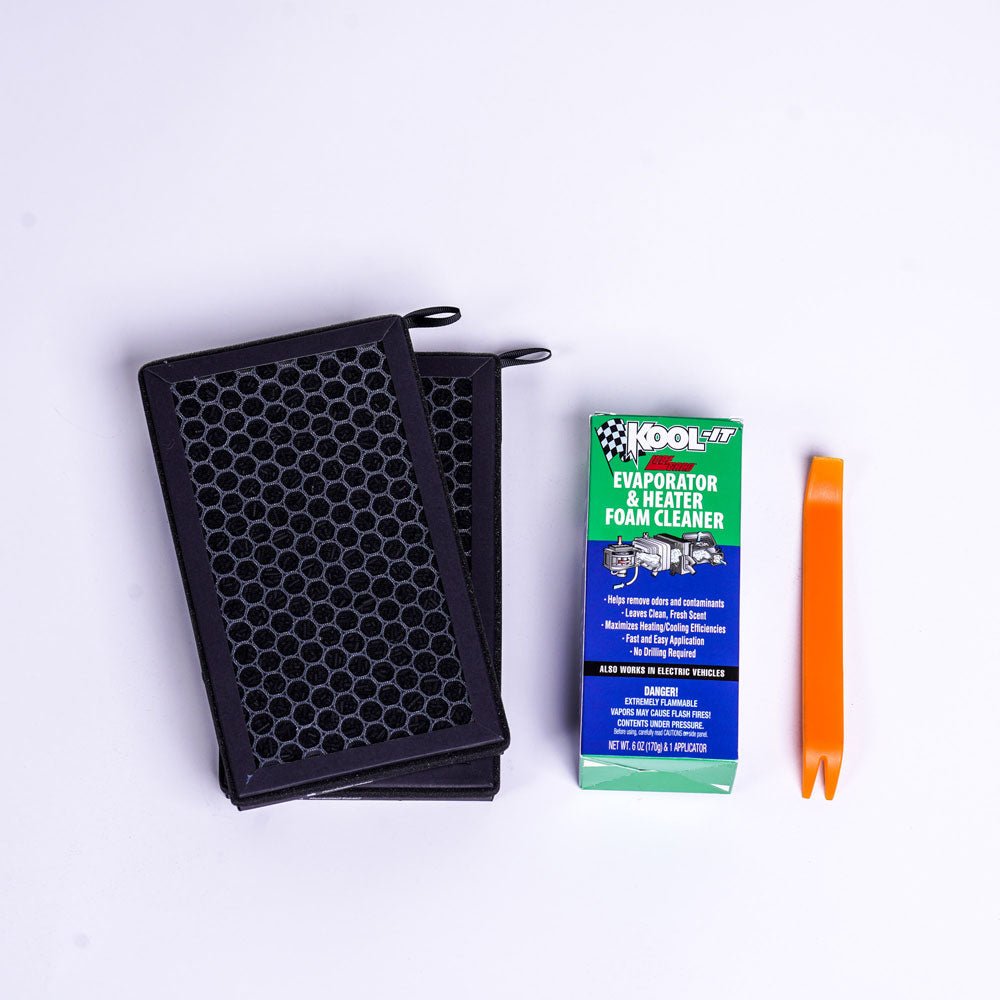
    Does it come with everything I need to install?

    Yes, everything you need is provided in the kits. All you’ll need to add is water to the slip and tack bottles.

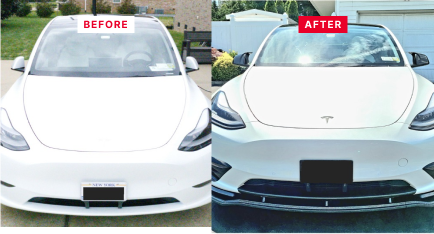
    Do I need to cut anything?

    No, our kits come pre-cut to make installation easier for you!

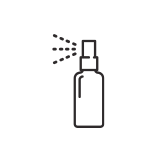
    Can I use a pressure washer to wash my car after installing the ppf?

    You can, but please be extremely careful. You want to be careful around all the edges. If you directly point the spray gun near the edge, it may remove the film. Don’t directly spray on the edges, and you’ll be fine.

    Why does it only come with 1 set?

    PPF is easier to adjust since it is a wet install compared to vinyl which is a dry install. If you do make a mistake, reach out to us, and we can send you a replacement at cost.

    How long does PPF last?

    Our film is rated for 10 years.

    Can I put a ceramic coating over PPF?

    Absolutely. There are many ceramic coatings that are specifically for PPF which will make the car even easier to keep clean!

    Most customers install this themselves. We recommend watching the how to video to ensure correct usage.

    Watch Installation

    @teslabros

    See How 17K+ Tesla Owners Transformed Their Rides

    Testimonial Image

    Exceptional!!!! This was 100% amazing! You guys are super with communication and I appreciate how you helped me out when I ruined one of the pieces. My Cybertruck looks amazing now and everyone keeps asking how I changed it to black!

    Daniel

    united states

    Testimonial Image

    Amazing! The instructional videos were so helpful and covered every step required for applying. Easy to follow along. Some pieces take a little more time and attention. Overall love it!

    Jordann

    united states

    Testimonial Image

    Transformed!! I really wanted to stand out from all the other white model 3s, so I ordered the pillar delete. Everything was pre-cut to fit. This was my first time applying and I couldn't be more happier with the results. The kit came with all the tools needed. Excellent product and excellent service with Tesbros!

    Edward

    united states

    Testimonial Image

    M3P install this past weekend, first timer.  Experience overall was good...having a 2nd person helps a lot. Glad it’s done and protected, cheers!

    Alex

    united states

    Testimonial Image

    Fantastic Product. This kit was top notch quality from packaging to tutorial vids, tools and film. The application was very doable for the DIY novice and I'm super impressed with my results. Definitely will recommend..10 out of 10 plus 10!

    Michele

    united states

    Testimonial Image

    Protection kit works and easy DIY instructions. Great product!

    Tiffany

    united states

    Kit Item Image Kit Item Image

    All-Inclusive Protection Kit for your Tesla

    Our DIY Protection Kit offers durable, easy-to-apply materials to shield your Tesla from everyday damage.

    Kit Item Image Kit Item Image

    Ample Coverage

    Shields key spots like door handles, mini rockers, and B-pillars from scratches, chips, and daily wear.

    Kit Item Image Kit Item Image

    Lightweight & Easy Application

    Our protection film is lightweight yet durable, making application a breeze.

    Kit Item Image Kit Item Image

    Customizable Fit

    Each piece is precision cut for a seamless fit on your Tesla’s most vulnerable small surfaces.

    What’s Included In The Kit

    Kit Item Image

    Your Pre-Cut PPF Protection

    Kit Item Image

    All Required Tools Included

    Kit Item Image

    Step-by-Step Installation Guide