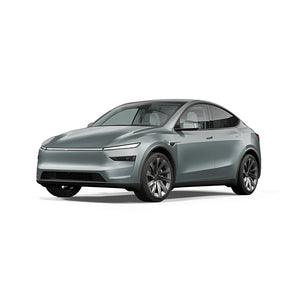
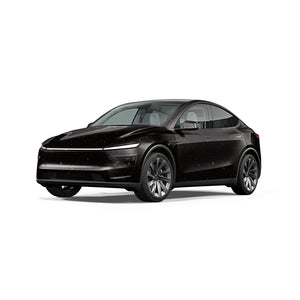
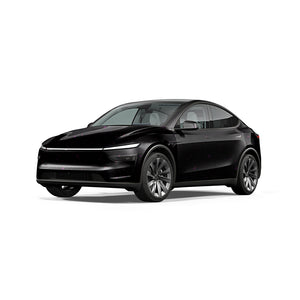
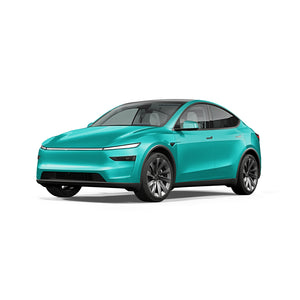
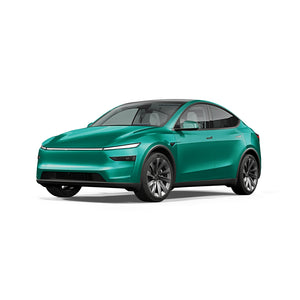
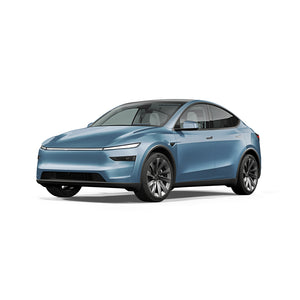
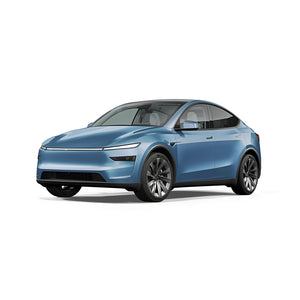
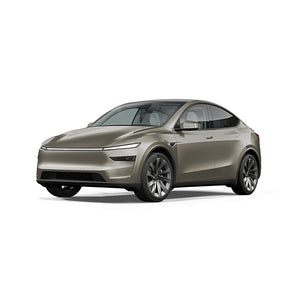
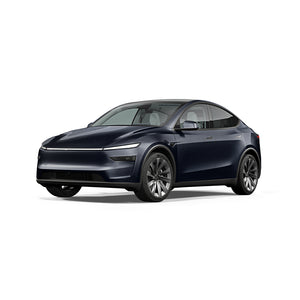
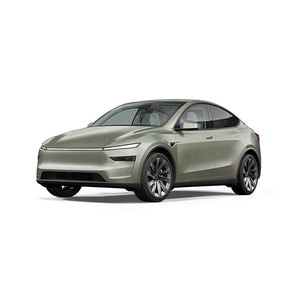
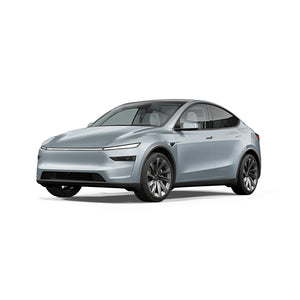
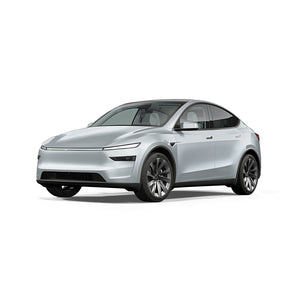
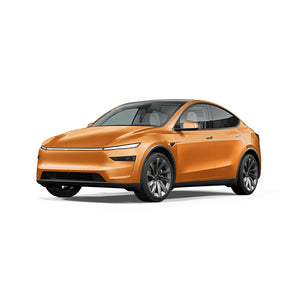
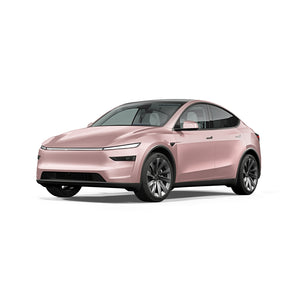
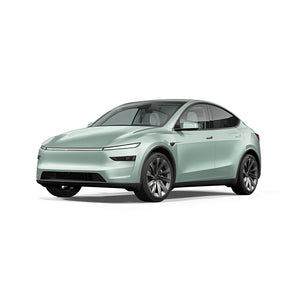
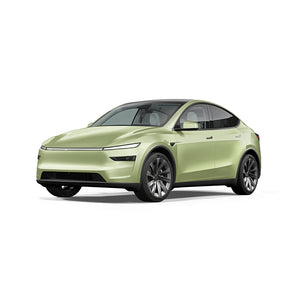
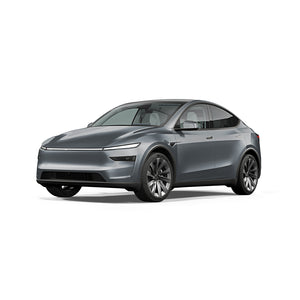
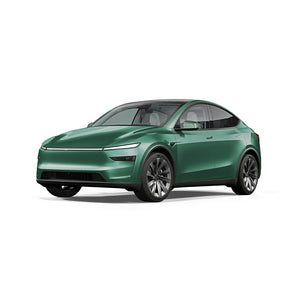
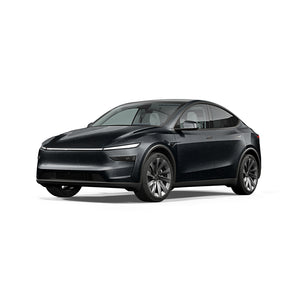
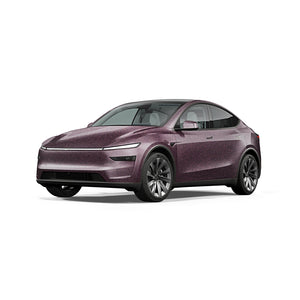
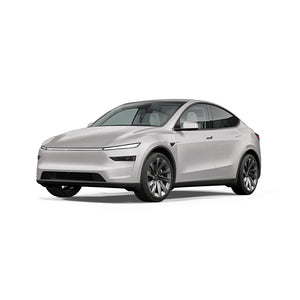
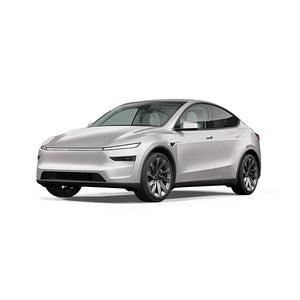
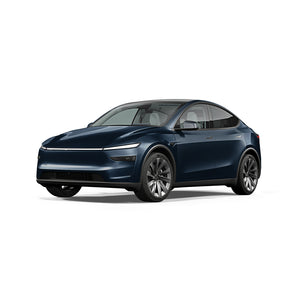
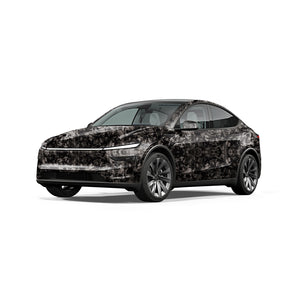
Model Y Juniper Premium (2025+) DIY Colored PPF Kit | Premium Trim | Self-Healing Protection
Sale
$1,799$2,099Save $300
No colors found matching your search.
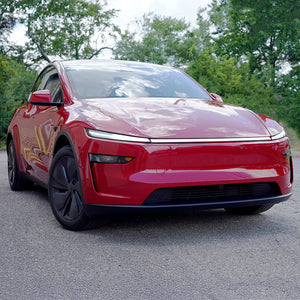
The First Colored Armor for the New Model Y Juniper.
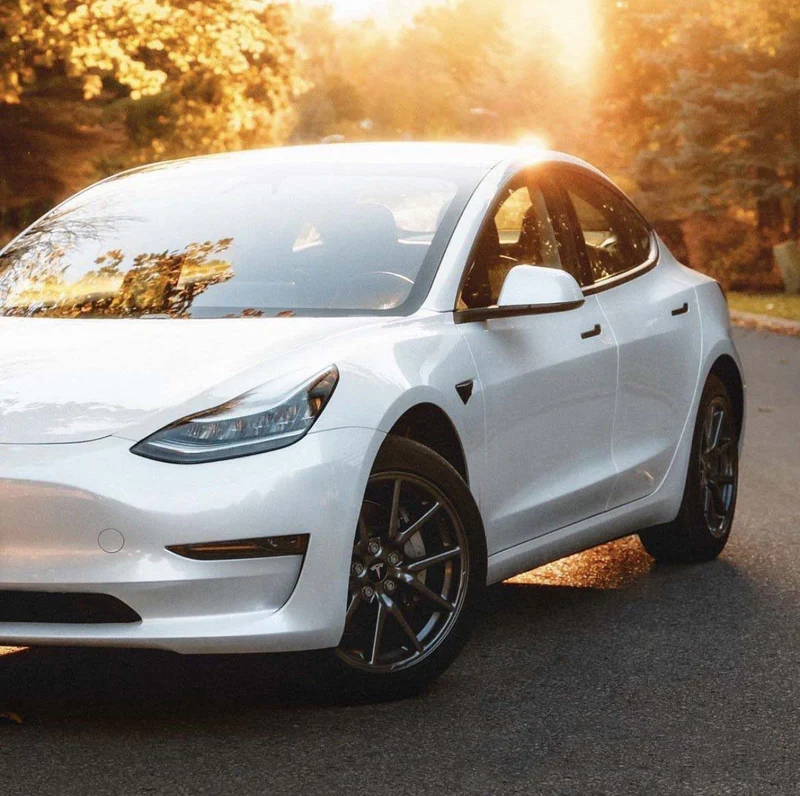
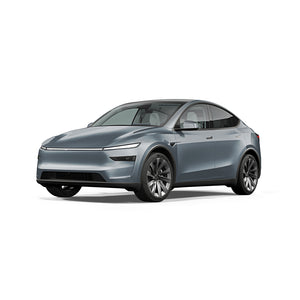
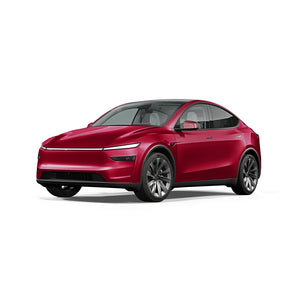
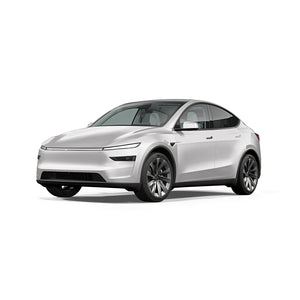
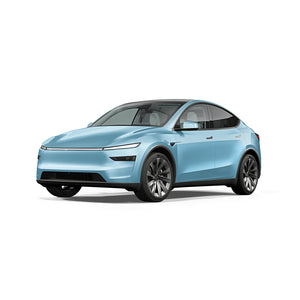
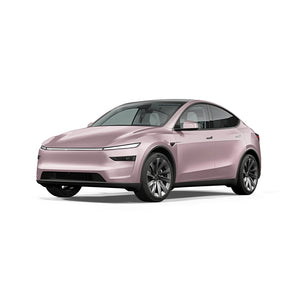
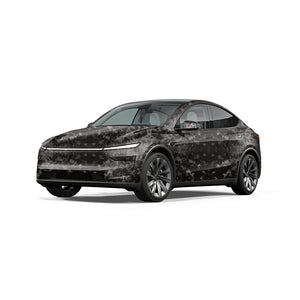
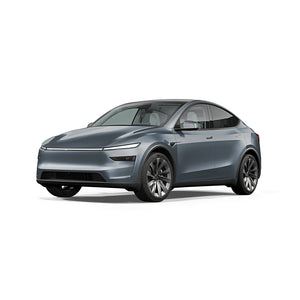
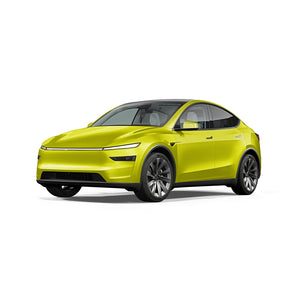
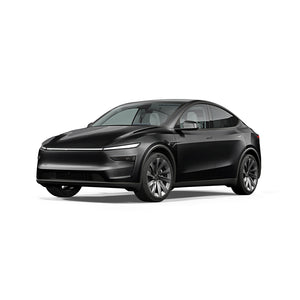
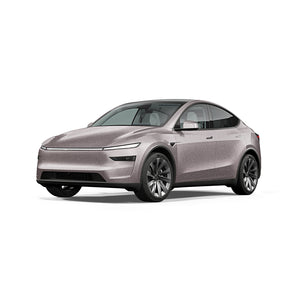
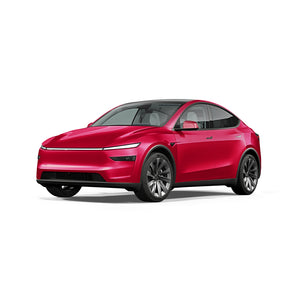
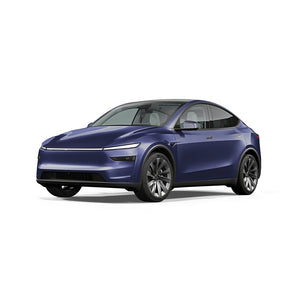
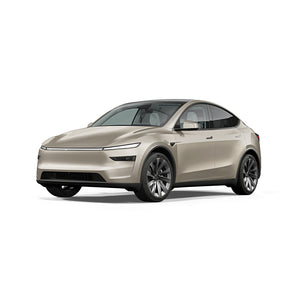
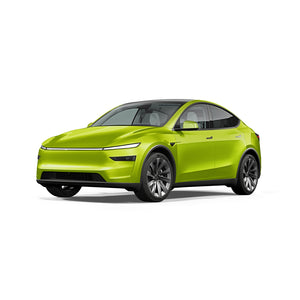
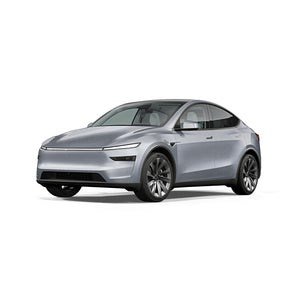
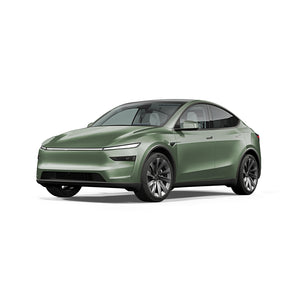
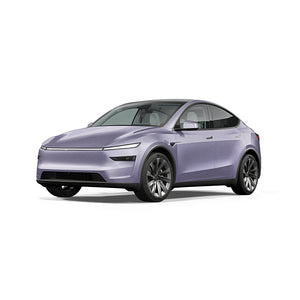
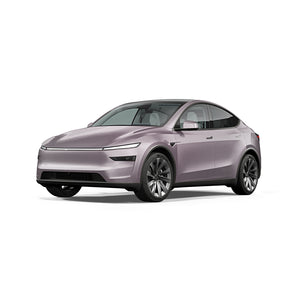
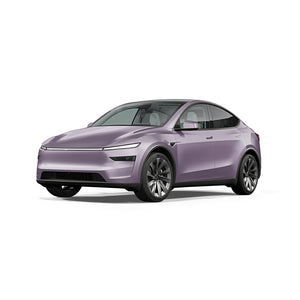
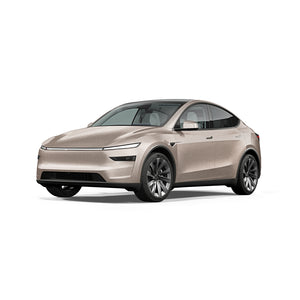
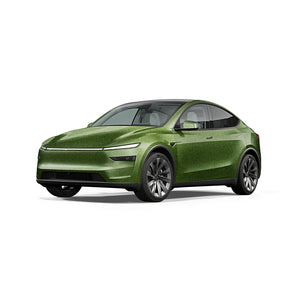
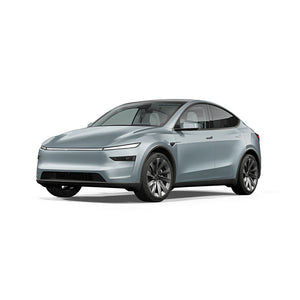
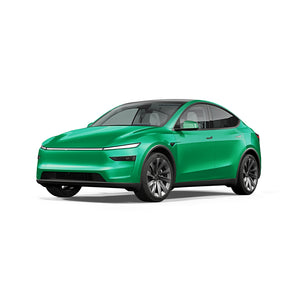
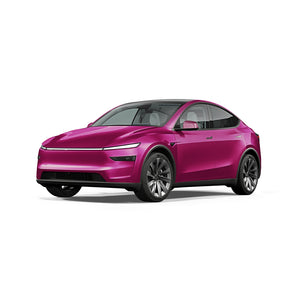
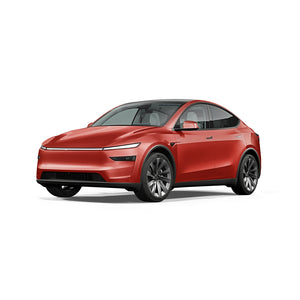
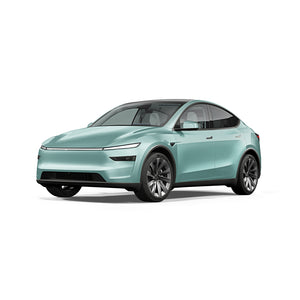
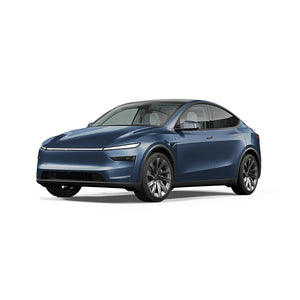
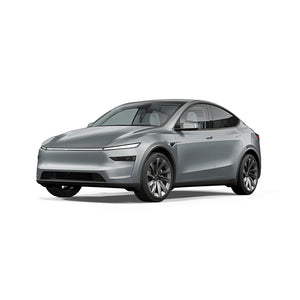
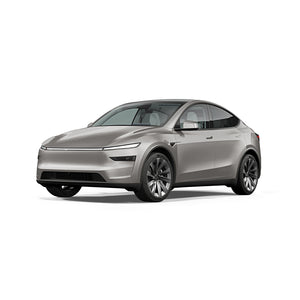
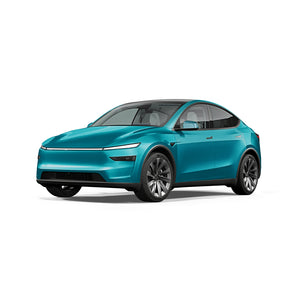
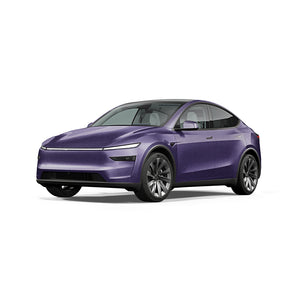
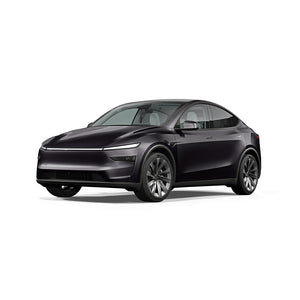
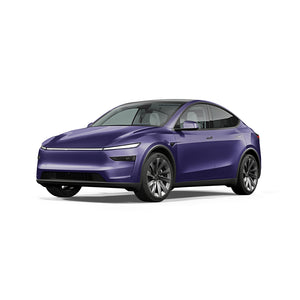
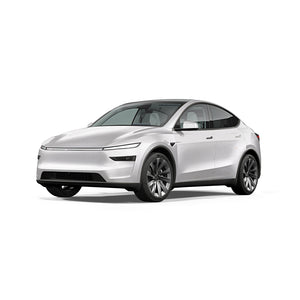
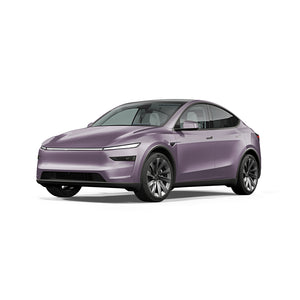
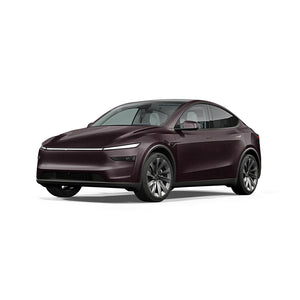
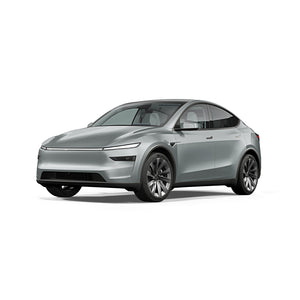
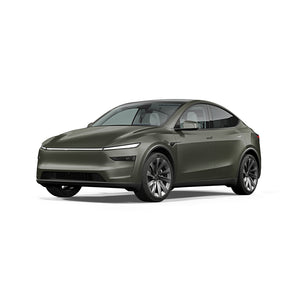
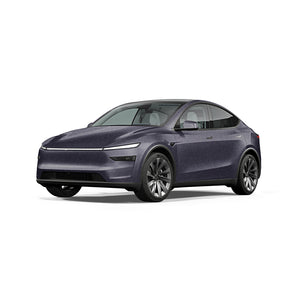
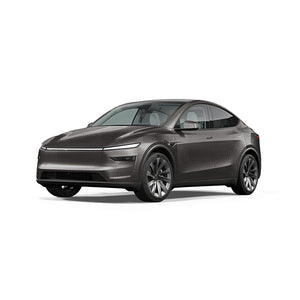
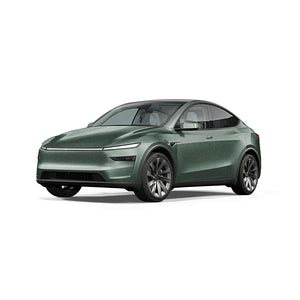
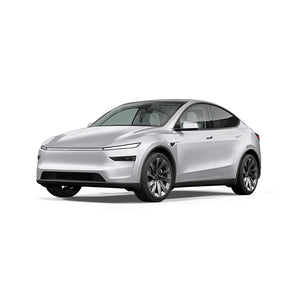
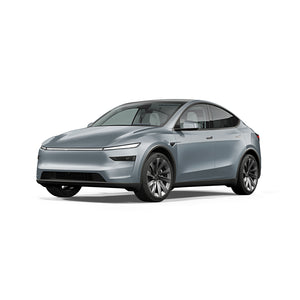
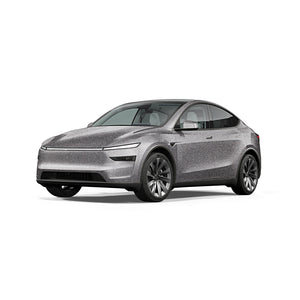
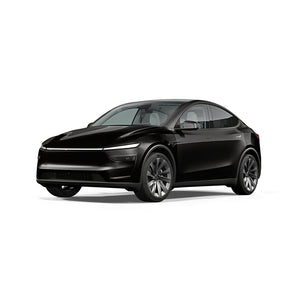
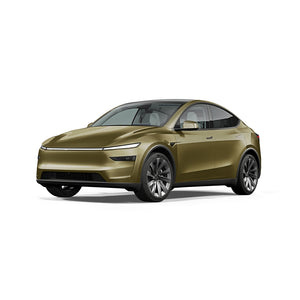
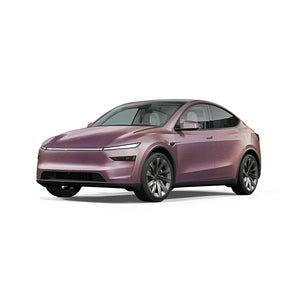
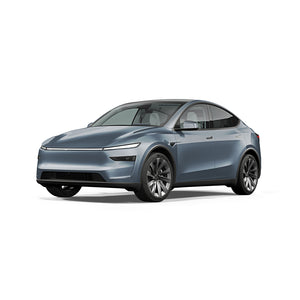
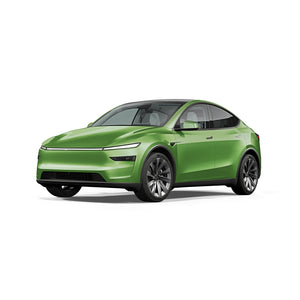
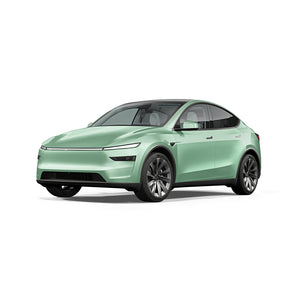
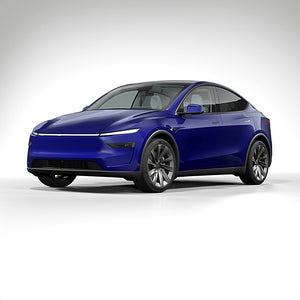
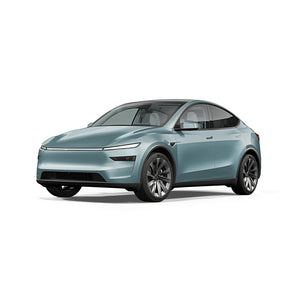
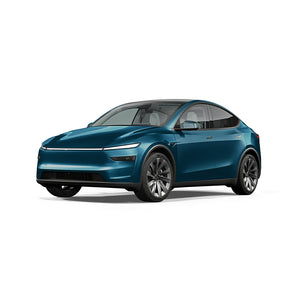
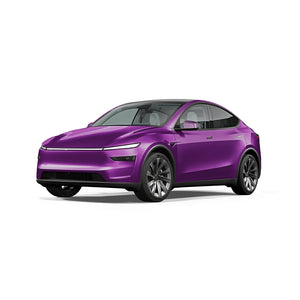
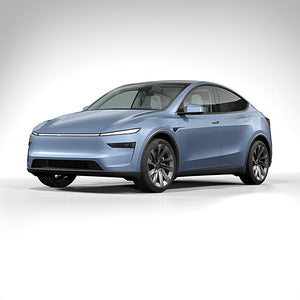
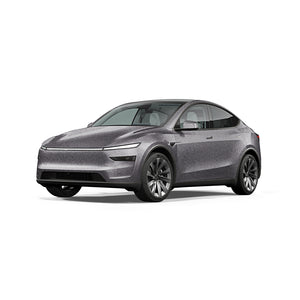
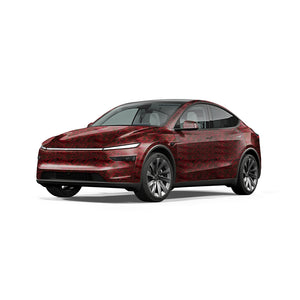
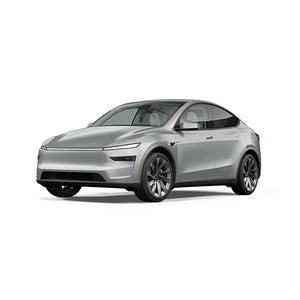
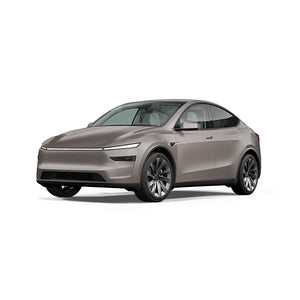
You secured the refresh. Now, protect it. Transform your 2025+ Tesla Model Y Juniper (Premium/Long Range) with the world’s first DIY-ready Colored Paint Protection Film (PPF) kit.
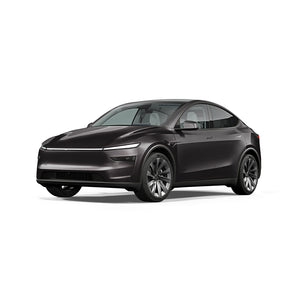
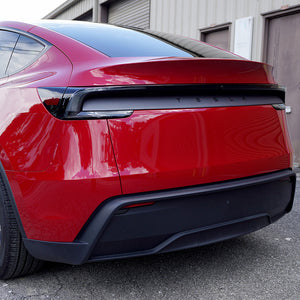
The Juniper refresh brings cleaner aerodynamic lines and a "sculpted" front fascia that standard vinyl wraps simply can't do justice to. Our Colored PPF offers the deep, liquid gloss of professional paint while providing 8-mils of self-healing armor against the road.
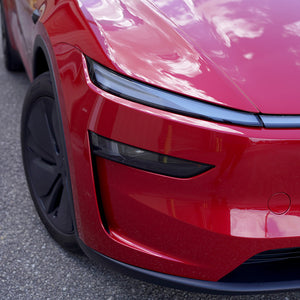
Precision Fit: Designed for the 'Premium' Bumper
⚠️ Fitment Check: This kit is specifically engineered for the Premium/Launch front fascia, which features the smooth, aero-optimized bumper intake.
Why Colored PPF for Model Y?
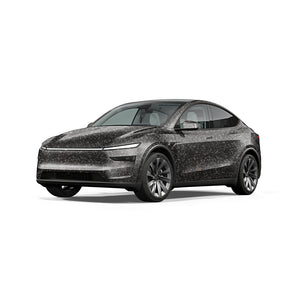
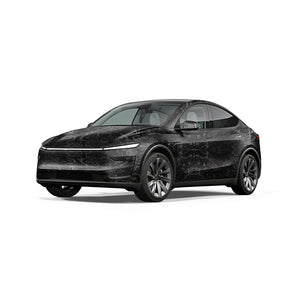
Curves You Can Feel: Unlike the Cybertruck, the Model Y Juniper is all about curves. Colored PPF is thicker (8mil) than vinyl, creating a "deep water" finish that highlights the Juniper’s new hood lines and flared fenders in a way thin vinyl cannot.
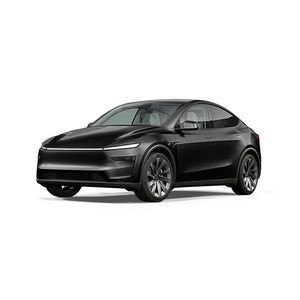
Full-Body Armor: The Juniper’s painted front bumper is a magnet for rock chips. This kit doesn't just change the color; it stops rock chips, scratches, and road debris from ever touching your factory paint.
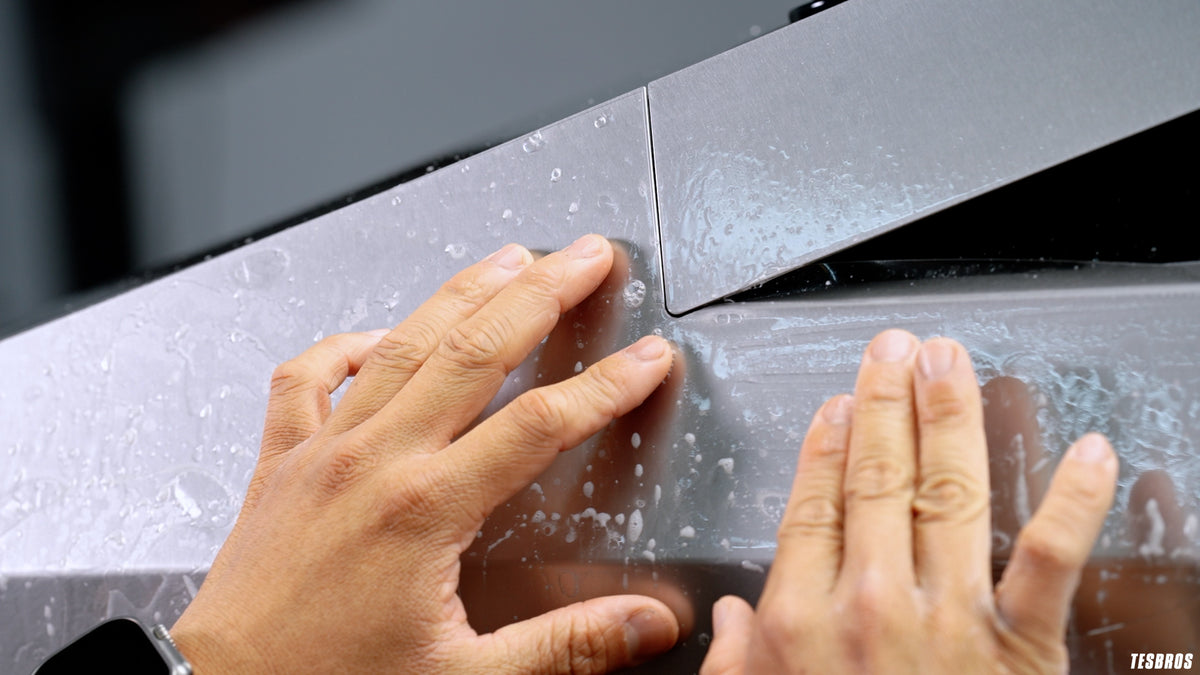
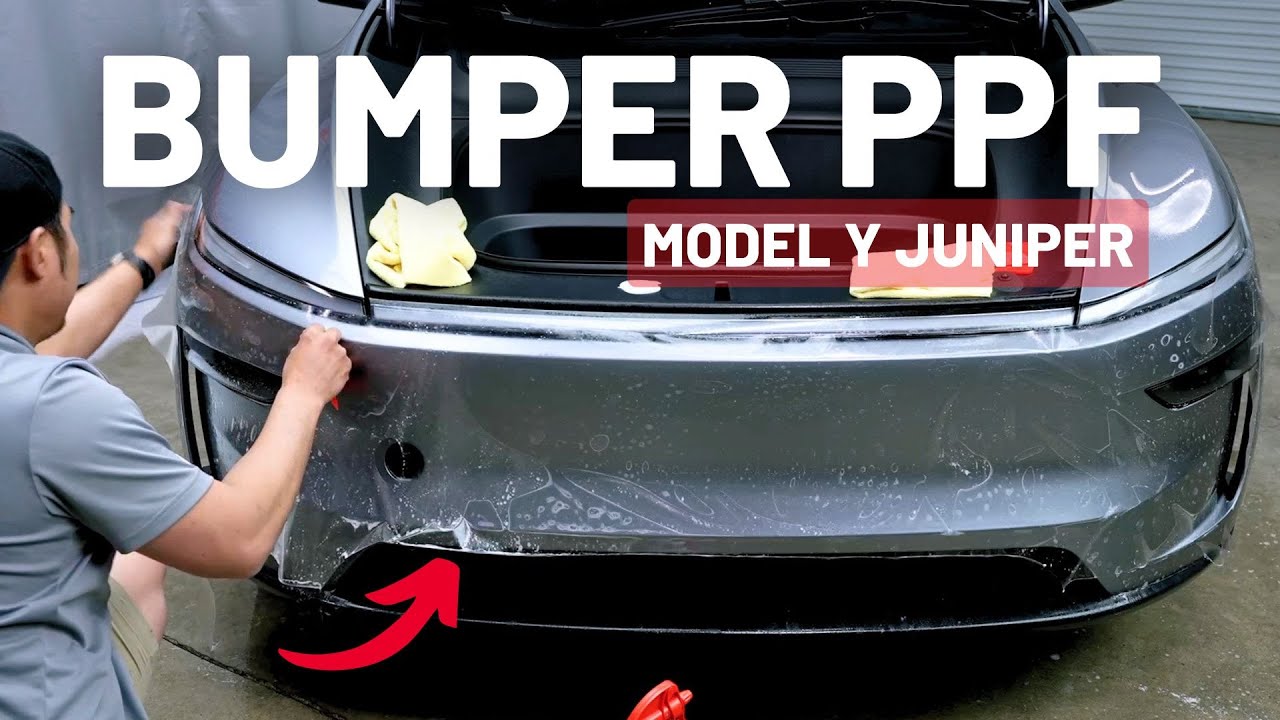
The "Wet Install" Advantage: Because the Model Y has compound curves, our Wet Application method is actually easier for beginners. You can slide the film into place, floating it over the curves until the alignment is perfect—no "stretch marks" or adhesive stress.
The "Everything" Box
We don't sell you a partial kit and ask you to buy the rest later. This is the complete protection package.
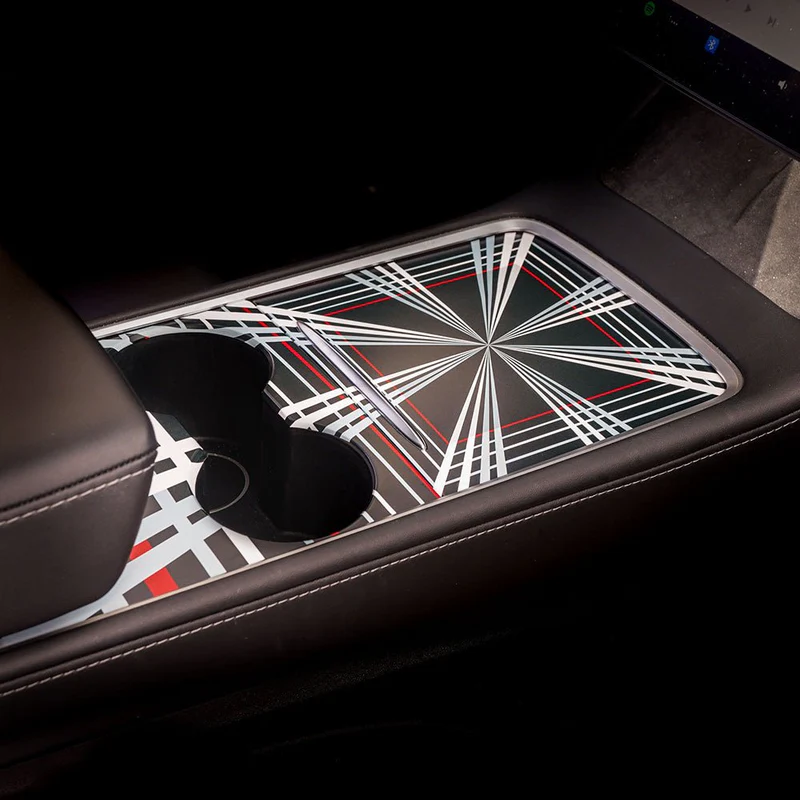
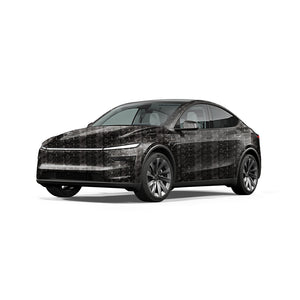
Full Body Color Change: Hood, Fenders, Doors, Bumpers, Tailgate, and Mirrors.
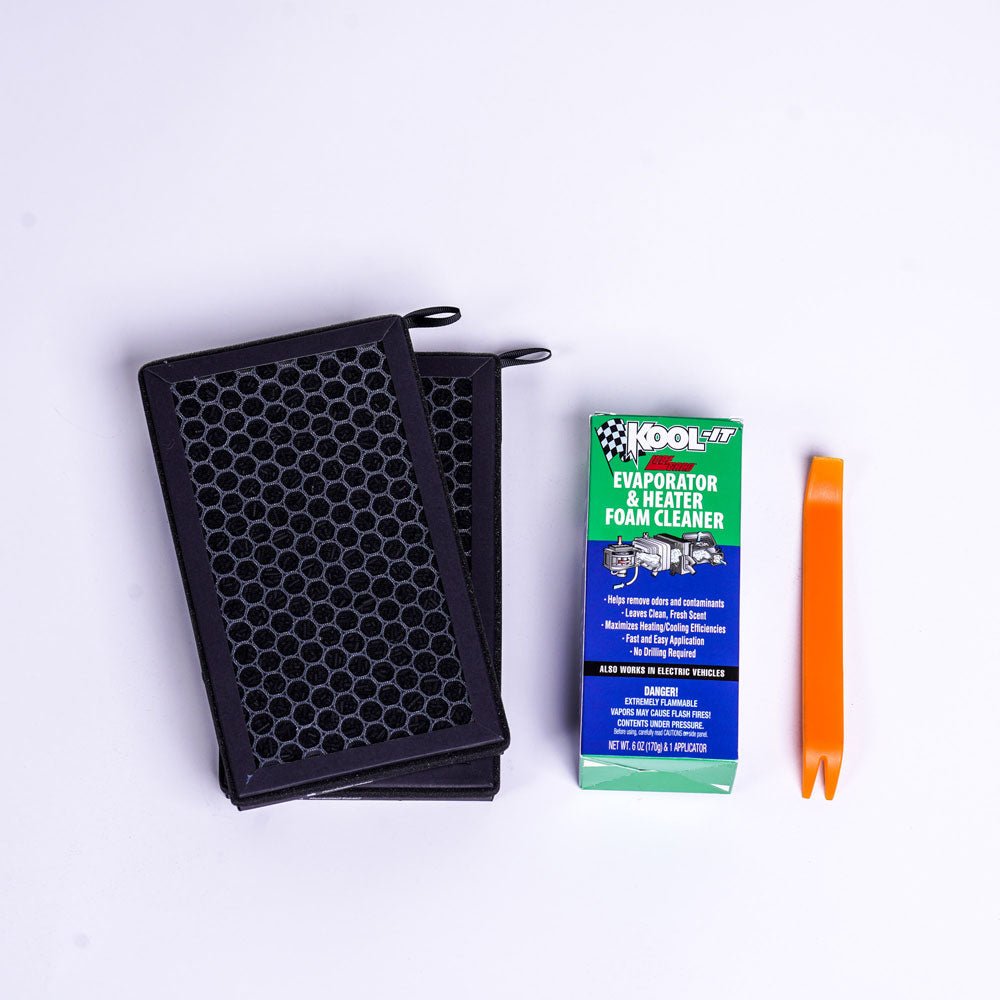
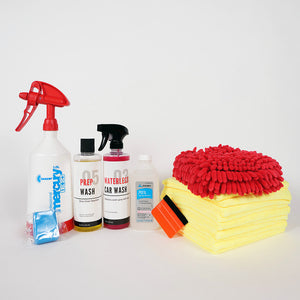
Pro Tool Kit: Everything you need: Slip solution, tack solution, squeegees, clay bar, and microfiber towels.
Community Access: Unlocks exclusive access to our Juniper Installation Video Course and our private Facebook group where DIYers share tips.
Durability: 10 Years (Anti-Yellowing & Anti-Cracking)
Self-Healing: Scratches disappear with heat (sun or hot water)
Frequently Asked Questions (FAQ)
Will this fit the 2020-2024 Model Y? No. The Juniper refresh (2025+) features a completely redesigned front bumper, slimmer headlights, and a new liftgate design. This kit is strictly for the Juniper Refresh.
Is this hard to install on the curvy bumpers? The Model Y bumpers are curved, but our "relief cut" design philosophy means we have pre-sliced some of the high-tension areas. We wouldn't say it's "easy," but we've done our best to make it easier than any other kits out there.
Does this cover the door jambs? No. This is an exterior-only cosmetic and protection kit. It wraps around the visible edges to hide the original color when the car is closed, making the installation achievable for a weekend DIYer.
Pre-cut panels for all parts of your Model Y Juniper, including headlight and taillight PPF
All the tools to prep, wash, and remove trims
All the tools needed for the installation process
Access to our video courses, guiding you step-by-step through prep, installation, and finishing touches
Membership to our exclusive DIY community Facebook group for ongoing support
Due to the custom nature of our DIY kits, all items are non-returnable, non-refundable, and non-cancelable. Once an order is placed, we purchase materials and process your kit, which cannot be resold. However, we offer our 100% Success Promise—follow our step-by-step videos, and if you need help, our Wrap Support Team is here to assist and make things right. Contact our team if you need support!
Most customers install this themselves. We recommend watching the how to video to ensure correct usage.
Ordered the full car PPF for the 2026 model Y premium. Went with the gloss kit without the trim removal. This kit still requires a trim loosening on the back hatch but very simple. The DIY instructions are very simple to follow, do recommend having someone help with the front bumper and rear quarter panels as there is some stretching required. It can be done alone but you will want to stretch it a few times after the panel is anchored in the first spot. After a couple times stretching a piece it becomes easier to stretch. Use lots of slip under the piece but try to limit slip on the outside while stretching as it becomes slippery.
The best advice I can give after spending 2 days installing the full PPF kit is to pay attention to the edges. Go back over all edges when you are done. Make sure you didn’t miss any edges or seems with tack. If you see an edge not sealing, spray some tack on it and wait an hour before trying to seal it.
Over all I highly recommend the kit. Patience is key to making sure things go right. I did see a few bubbles after a couple days and will let it sit for a couple weeks before doing anything. If they remain I will get a small syringe to remove the bubbles.
Ease Of InstallRated 2.0 on a scale of 1 to 5
Easy Hard
GC
Garrett C.
Verified Buyer
2 weeks ago
Rated 5 out of 5 stars
PPF
It was a bit of a mission but the instructional videos were great and the precision cuts were perfect. It seems impossible at first but you quickly get the hang of it. Plan for about 3-4 solid days of work to complete it.
Ease Of InstallRated 4.0 on a scale of 1 to 5
Easy Hard
BS
Brian S.
Verified Buyer
1 month ago
Rated 5 out of 5 stars
Excellent Protection and transformation!
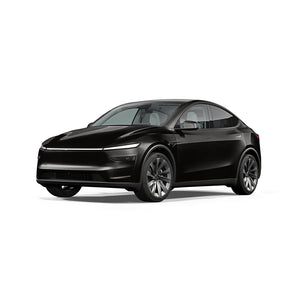
I always wanted satin black car and DIY Wrap club made it easy and affordable!! and I was very surprised with the amount of stuff they provided to do the PPF on my car! overall very happy with it, full protection and it looks amazing!
Ease Of InstallRated 4.0 on a scale of 1 to 5
Easy Hard
NM
Nathan M.
Verified Buyer
1 month ago
Rated 5 out of 5 stars
Great way to protect your investment!
Model Y Juniper
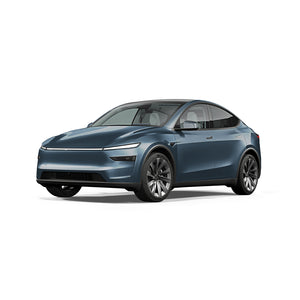
After successfully wrapping our Cybertruck with vinyl I had the courage to try wrapping our Model Y Juniper in color PPF with incredible results! I love how DYI wrap Club packages the product making it easy to take on a few panes after work each day making the whole process as stress free as possible because I got to go at my pace. We chose to leave the side view mirrors open to have a break from the Bright Costal Breeze in gloss color PPF.
DYI Wrap Club was always available to talk on the phone or text and walk me through any struggles I may be having making sure I know that I always had support when needed. I love the program that allows you to request new sheets and pay shipping only if you have a catastrophe during one of your panels.
Now not only does our Model Y stand out with constant compliments (we can always find it in a parking lot) but it also makes the car VERY easy to clean! Just a waterless wash in the garage and you’re done without any scrubbing necessary. Not to mention the rock protection on the highway!
If you have patience and determination you should take the jump and try wrapping your own! You will be so happy you took the time to protect such an expensive investment.
I’ll be purchasing more kits through DYI Wrap Club after my friends and family saw the results and offered to pay me to wrap their own Teslas!
Ease Of InstallRated 4.0 on a scale of 1 to 5
Easy Hard
J
Jeff
Verified Buyer
1 month ago
Rated 5 out of 5 stars
Great product, exceptional customer service. Love the matte look!
I’ve never installed PPF before, and I’ll be honest — at first, I felt completely over my head. My first big lesson: DO NOT try to apply PPF when your garage is > 80 degrees. My slip solution was drying up almost instantly on the hood, and I couldn’t get the right ratio of slip and the giant piece just kept sticking down. The learning curve took way more time than the actual practice piece.
Once I realized how much the temperature was affecting things, I switched to working at night when it was cooler. That made a difference, even though lighting became a new challenge as I think natural light is best for matte. (I used a floodlight, a headlamp, and two overhead LEDs — and still wished I had more lights because you need to see all angles) A few pieces didn’t go well early on; watching the training videos helped, but the real lessons come from hands-on experience as you progress.
There will be moments where you think your technique is solid, but things still go sideways. If that happens — slow down. Take a break, research a bit more, and don’t rush it but don’t wait too long either for pieces to dry out (keep that sucker slippy). The more patient you are, the better your results will be. It helps to have a helping hand just to spray (my wife was really good at keeping pieces wet)
I have to give a huge shoutout to Tesbros customer service — they really backed me up. They replaced a few pieces I messed up, only charging for shipping, which goes a long way in my book. Five stars…