
If your Tesla lease is ending soon, the return process is actually pretty simple. But there are a few steps you should follow to avoid unnecessary charges.
Tesla handles most of the process digitally through the Tesla app, but preparing the vehicle properly can save you money and stress.
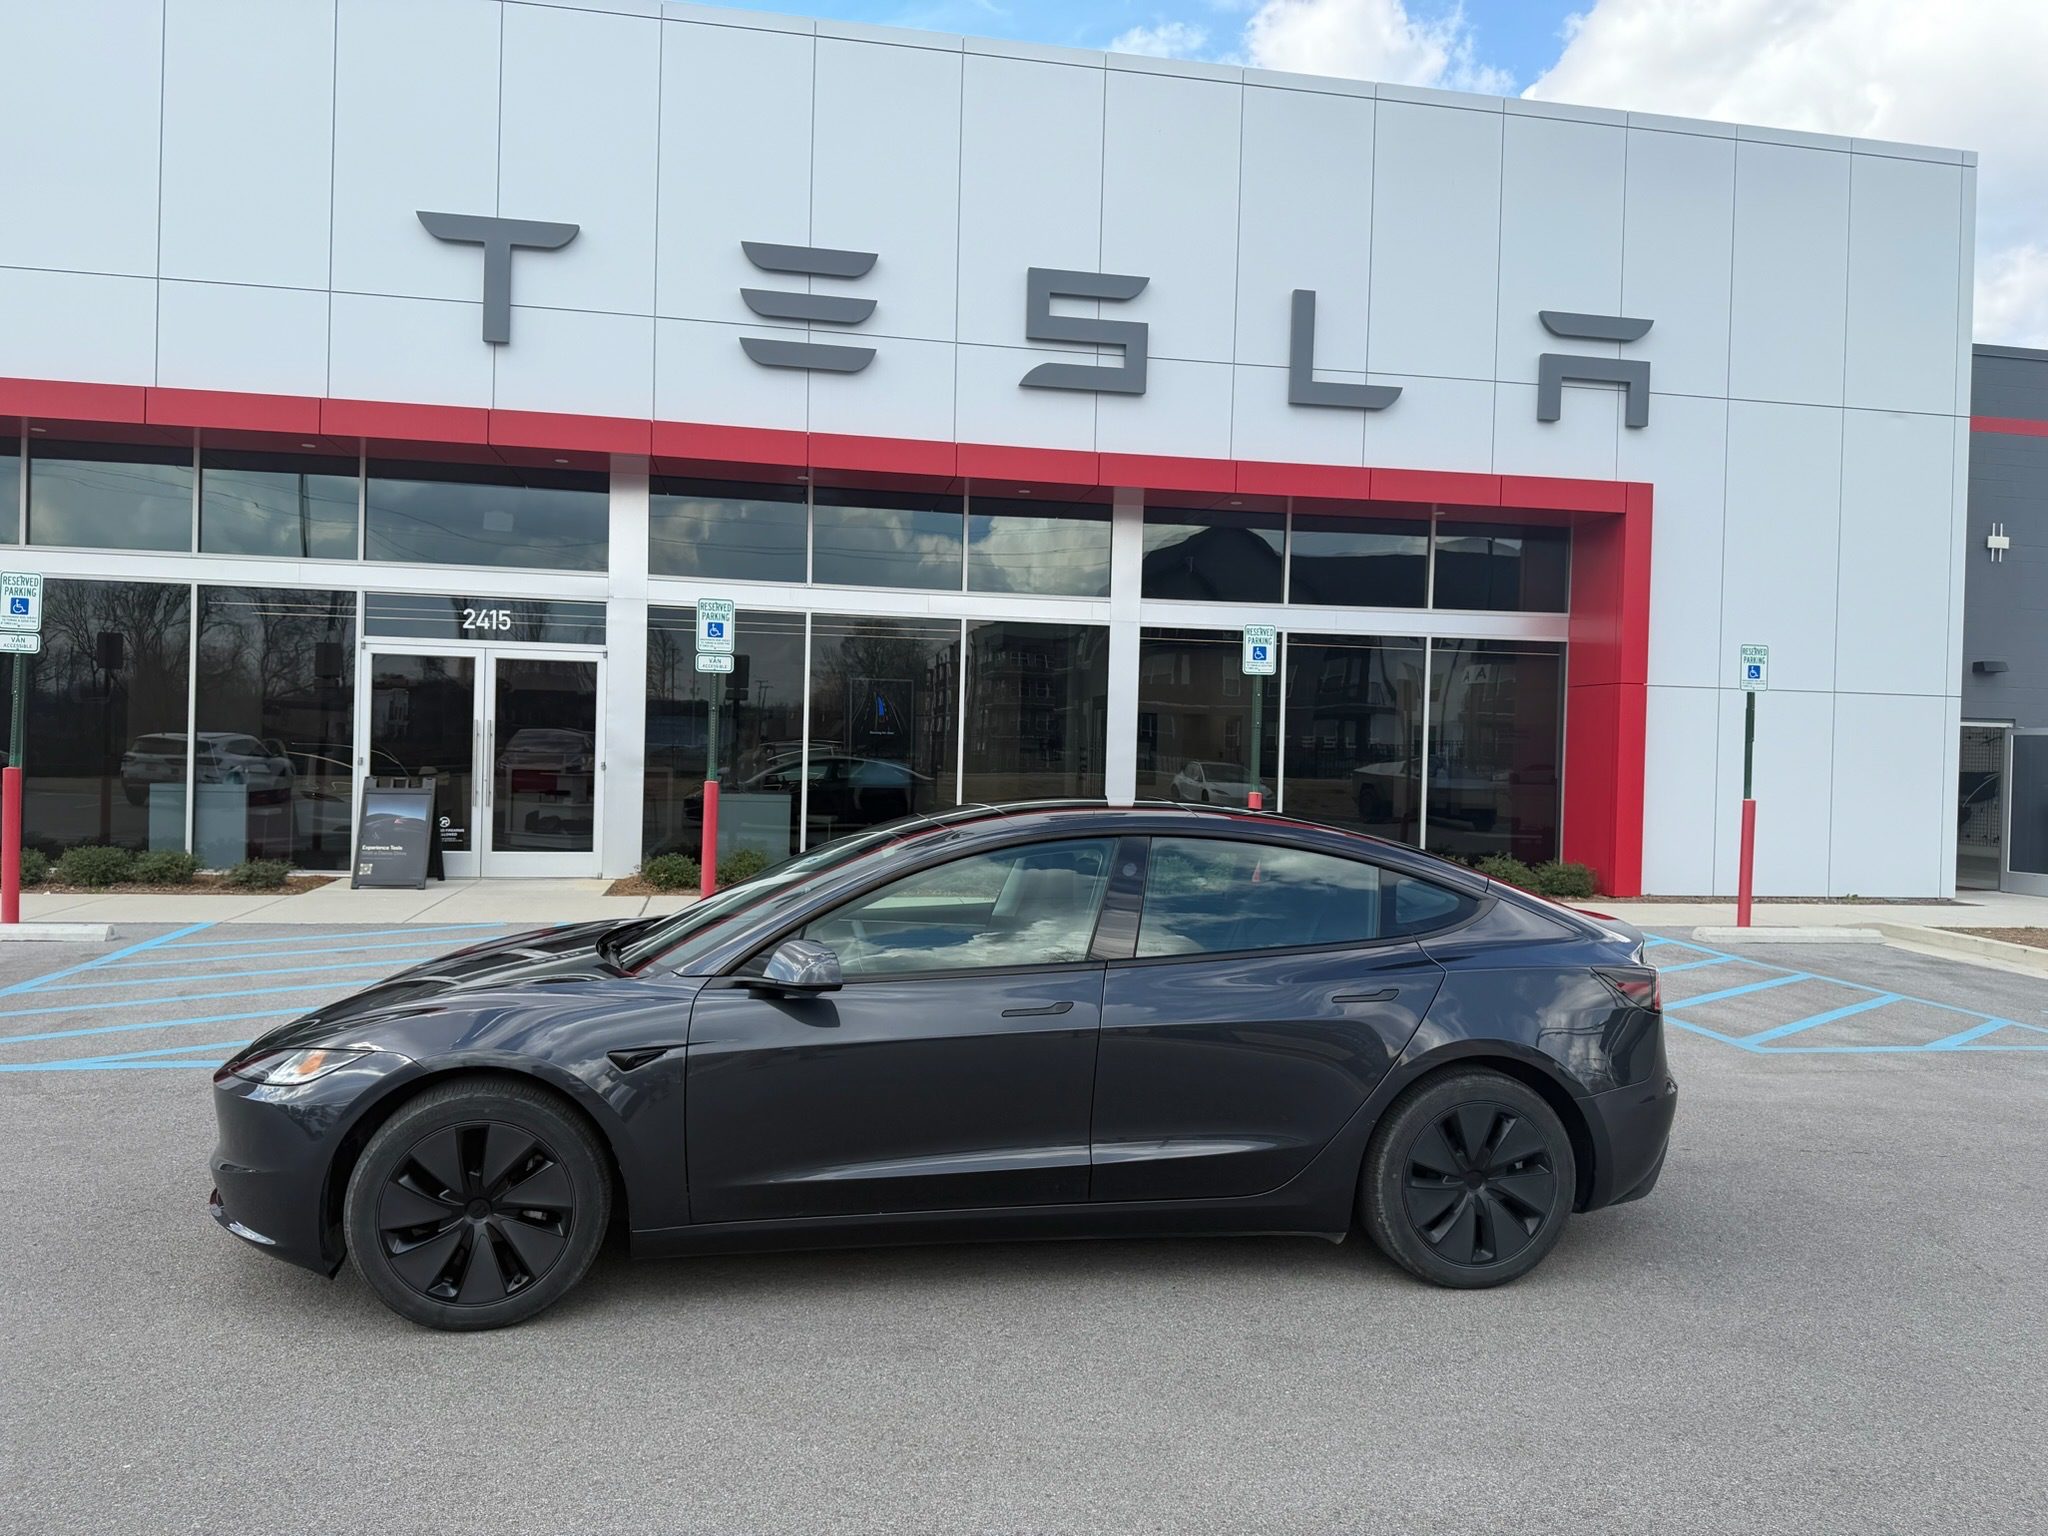
We recently returned our own leased Model 3, so we documented the entire process and created a checklist you can use as well.
You can also watch the full walkthrough here:
We’ll walk you through the exact steps Tesla requires, along with what we personally did when returning our lease.
Tesla Lease Return Timeline
Tesla typically begins the lease return process about 30–60 days before your maturity date.
60 days before lease end: Start the return process in the Tesla app
30–45 days before: Complete the vehicle inspection
1–2 weeks before: Clean the vehicle and remove accessories
Return day: Drop off the vehicle and required items
In our case, Tesla notified us about three weeks before the lease ended to begin the inspection process. As we mentioned in the video, typically a few weeks prior to the lease maturity date you will be asked to submit a bunch of photos.
Step 1: Start the Lease Return in the Tesla App
Everything begins in the Tesla app.
- Open the Tesla app
- Tap Financing
- Select Lease Details
- Tap Manage Lease
From there Tesla will guide you through the inspection and return process.
The inspection is handled remotely. Tesla reviews the photos rather than performing a full inspection at the drop-off location.
Step 2: Clean the Car Before Inspection
This step isn’t required, but it’s important to make sure the photos turn out well. Before submitting photos or returning the car, you should clean it.
In our case the Model 3 had been sitting outside for a while and it was covered in pollen. I had lots of cheerios and dirt in the backseat from my daughter.
Cleaning the car helps you:
• spot damage
• avoid inspection issues
• present the car properly for documentation photos
Even a basic wash and vacuum can make a big difference.
Step 3: Remove Aftermarket Mods and Accessories
Tesla requires the vehicle to be returned in its original condition.
That means removing things like:
- vinyl wraps
- PPF (paint protection film)
- aftermarket accessories
- badges or cosmetic modifications
We had several PPF and vinyl pieces installed on the vehicle and removed them before the return.
The good news is that high quality film like Avery Dennison or 3M removes removes really nicely and saves you a lot of time later.
This is one of the advantages of temporary mods. You can enjoy them while you own the car and remove them before returning the lease.
You’ll also need to add back badges if you removed the OEM logos.
Step 4: Submit the Vehicle Inspection Photos
Tesla requires photos of the vehicle to assess damage and wear.
The inspection includes photos of:
- exterior panels
- wheels
- interior
- any damage
Tesla asks you to document any dents, scratches, or damage.
This process is completed through Tesla’s inspection portal after initiating the return.
What Tesla Looks For During Inspection
Tesla mainly checks for excessive wear and tear.
Here are a few examples.
Normal wear
- small scratches
- minor rock chips
- light seat creasing
Possible excess wear
- large dents
- scratches penetrating paint longer than about four inches
- cracked glass
- torn interior materials
During our return we checked the vehicle carefully.
Step 5: Check Tires, Mileage, and Accessories
Before returning the vehicle make sure everything Tesla expects is included. We were about 8,000 miles under our lease limit, which obviously helps avoid additional fees.
Also make sure you return:
- mobile charger
- J1772 adapter
- two key cards
If you lose your key cards, you can reprogram new ones through the Tesla app.
Step 6: Reset the Car and Remove Personal Data
Before returning your Tesla you should reset the vehicle.
Go to:
Controls > Service > Factory Reset
This removes driver profiles, navigation history, and personal data.
Step 7: Drop Off the Tesla
The actual return process is surprisingly simple.
You schedule an appointment and drop the vehicle off at the designated Tesla location. When we returned our Model 3 the process took only a few minutes.
You return the two keys, remove your license plate, and basically drop it off.
Tesla verifies:
- VIN
- odometer
- vehicle condition
Then the vehicle is officially returned.
What Happens After You Return the Tesla
Tesla performs a final remote inspection after the vehicle is returned. They review the inspection photos and finalize any charges.
You submit the photos and then a remote team reviews everything. A couple weeks later you either get a bill or you’re good.
Tesla Lease Return Tips
Here are the biggest things we learned during the process:
- Give yourself at least 2–3 weeks before the lease ends. I actually had only a couple days left when I started the return process which is not recommended.
- Clean the car and put it back to OEM condition before submitting photos. You can’t retake photos once you submit the lease return.
- Remove all mods and accessories.
- Make sure you have both key cards.
- Submit damage honestly during inspection. Being transparent during inspection helps avoid surprises later.
Download Our Tesla Lease Return Checklist
We created a simplified checklist based on Tesla’s process plus our real experience returning a lease.
The checklist includes:
- Inspection prep
- What to bring to drop-off
- How to avoid extra charges

