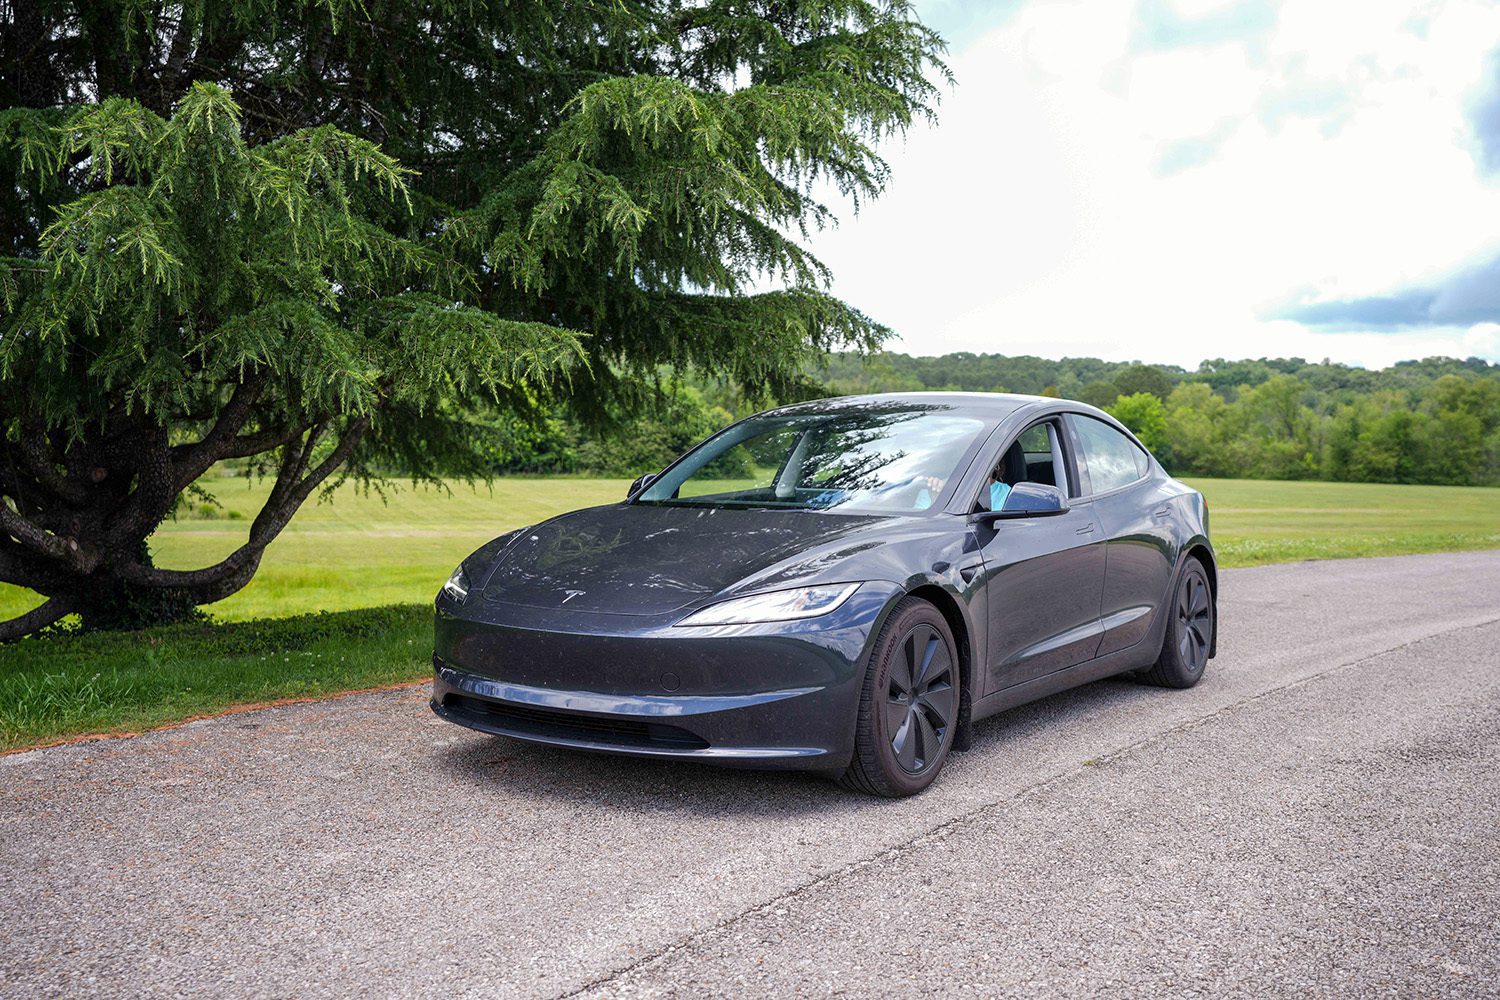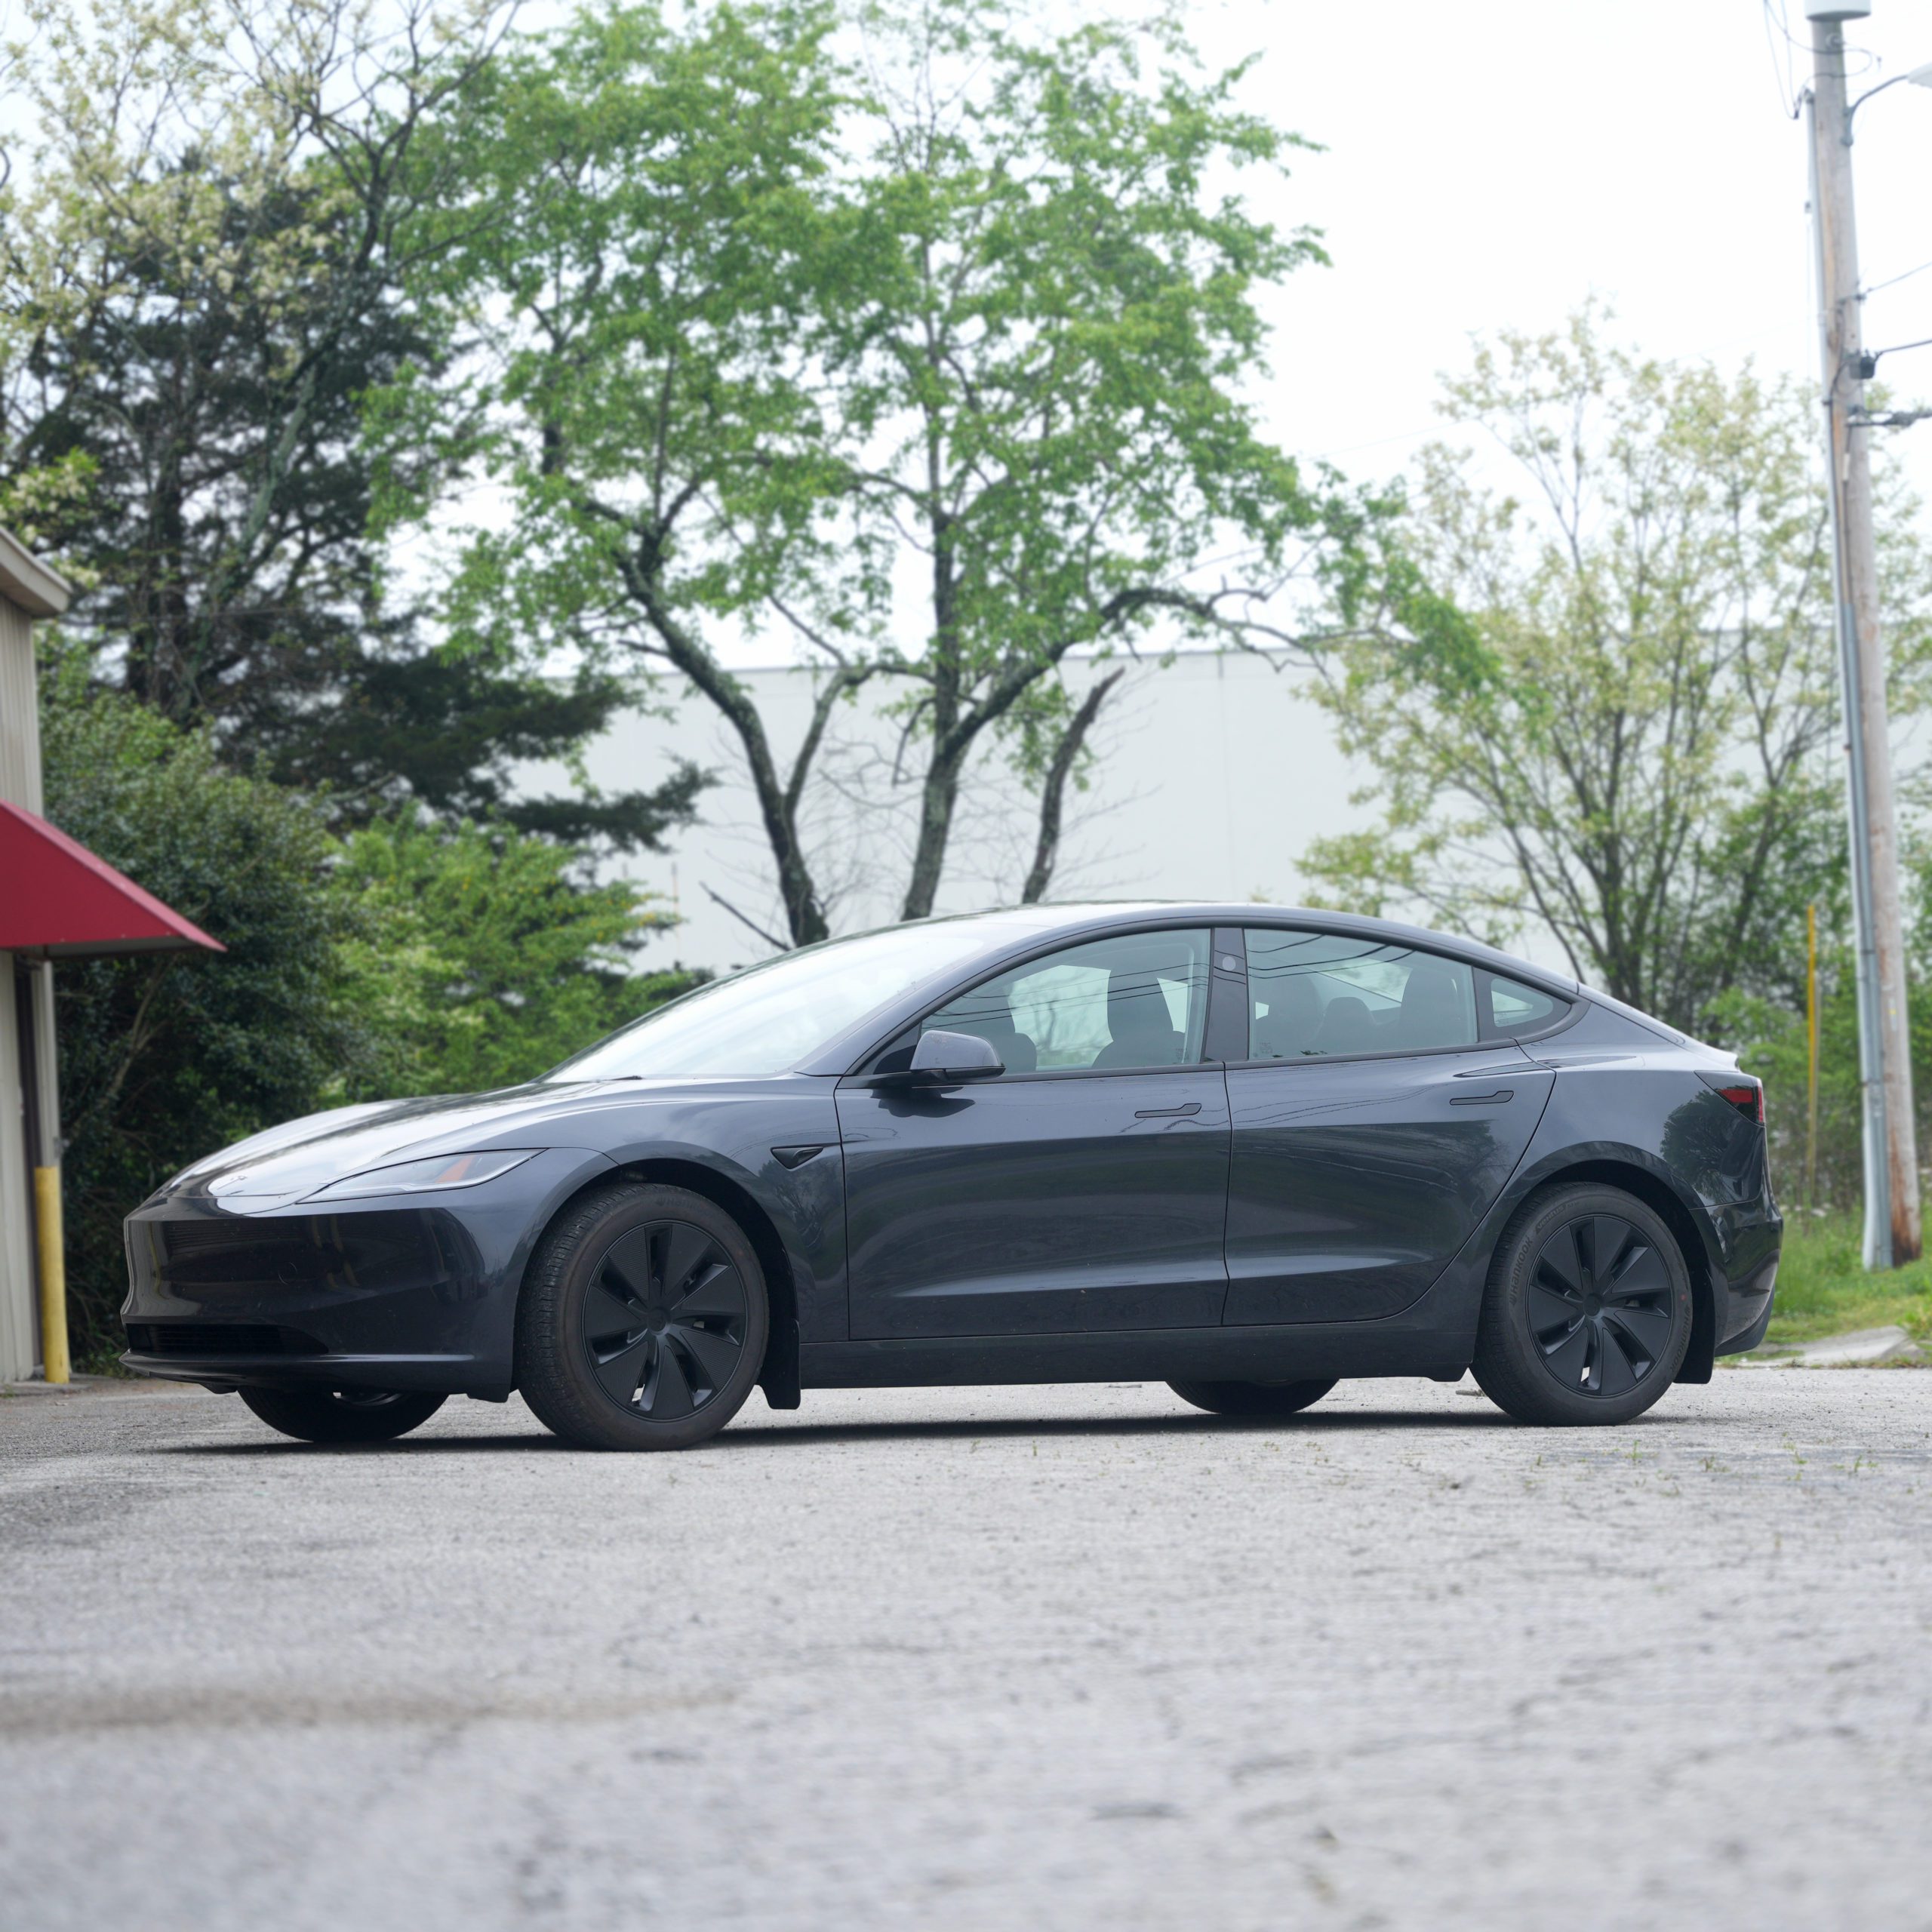
Tesla’s factory paint is famously thin, and the Model 3 Highland’s low, aggressive front end is first in line for every highway rock chip, sandblast, and parking-lot scuff. Paint protection film (PPF) is the fix – but a professional install can cost as much as a set of aftermarket wheels.
The good news: with a pre-cut DIY kit you can protect the exact same panels yourself, in an afternoon, for a fraction of the price. This guide covers everything – what PPF protects, what it costs, how long it takes, and how to choose the right kit for your Model 3 Highland (Standard, Premium, and Performance).
Quick answer: DIY front PPF kits for the Tesla Model 3 Highland cover the highest-impact panels – the hood, front bumper, fenders, headlights, and mirrors – with pre-cut, self-healing film. Front kits start at $549 (versus roughly $2,000 for a professional front-end install) and take about 4-8 hours to install at home; full-body kits start at $1,499.
What is PPF (a.k.a. “Clear Bra”)?
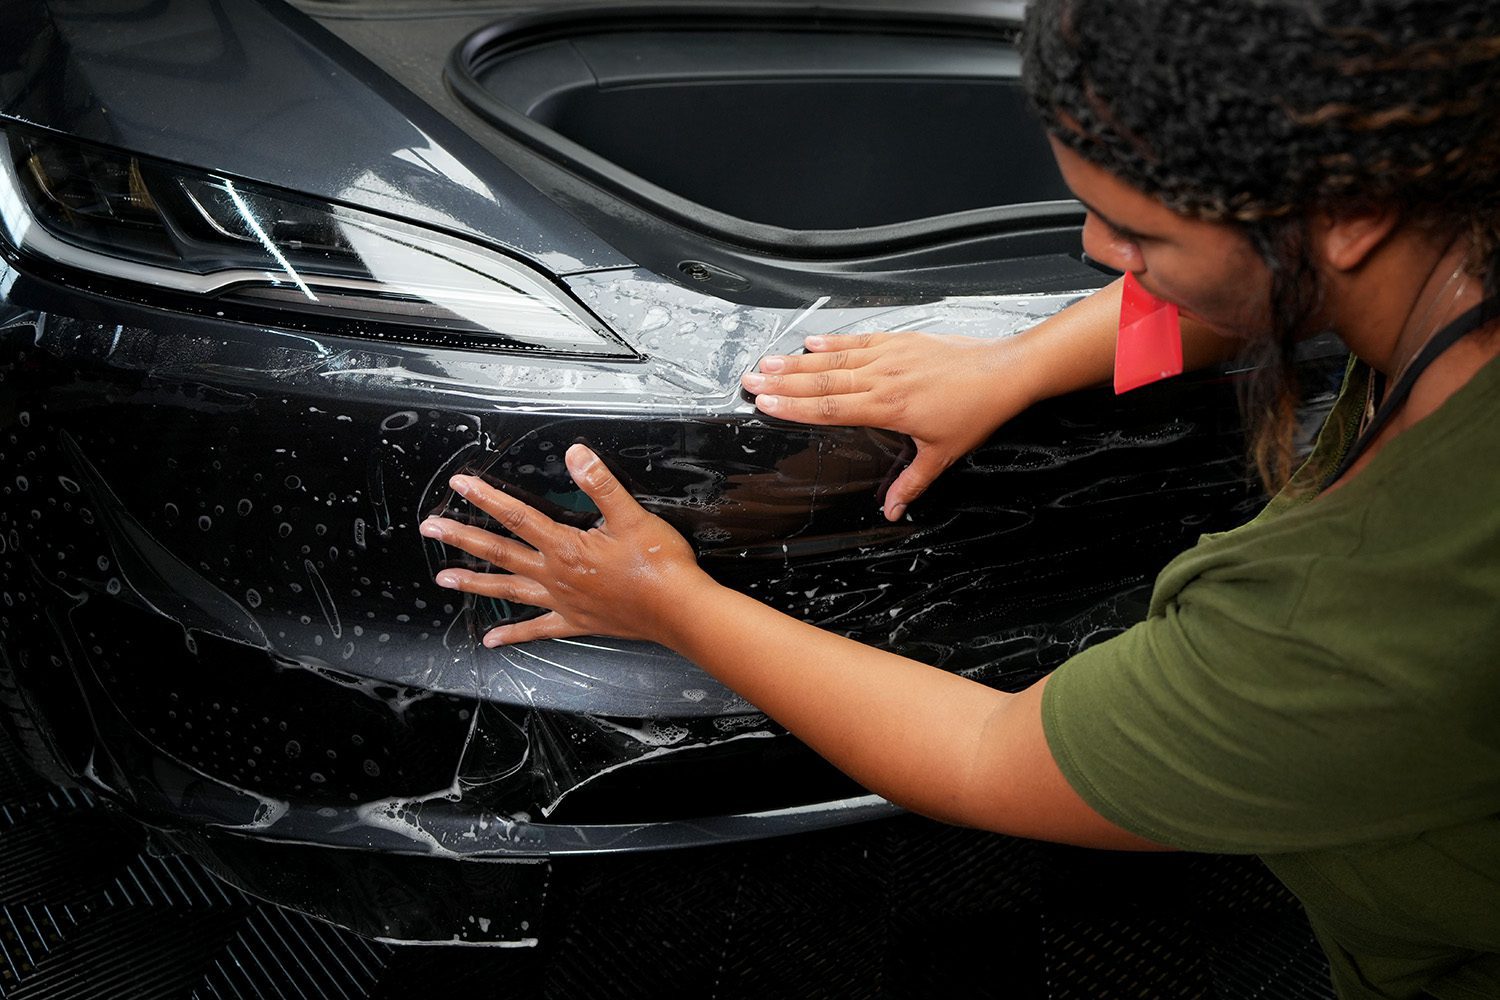
Paint protection film is a clear, self-healing urethane layer applied over your paint. It absorbs rock chips, scratches, and road rash so your factory finish doesn’t. It’s often called a “clear bra” because it originally protected just the front of the car. Modern film is optically clear and self-healing – light swirls and fine scratches vanish with heat from the sun or warm water.
Why the Model 3 Highland needs PPF
- Thin, soft factory paint that chips easily on the leading edges.
- A low, forward-leaning front bumper and hood that take constant highway debris.
- High resale value – keeping the paint flawless protects what the car is worth.
- The Highland’s smooth redesigned fascia is exactly the high-impact zone a front kit is cut to cover.
What a DIY front kit covers
A DIY Wrap Club front kit is pre-cut to protect the panels that actually get hit:
- Hood (full or partial, depending on kit)
- Front bumper
- Fenders
- Headlights
- Mirrors

Want edge-to-edge coverage? A full-body kit wraps every painted panel for maximum protection and resale value.
Front kit vs. full body – which do you need?
| Kit | Best for | Coverage |
|---|---|---|
| Front kit | Most owners – daily highway protection | Hood, bumper, fenders, headlights, mirrors |
| Full body | Maximum protection + resale value | Every painted panel, edge to edge |
Film choice: Boring PPF vs. Avery Dennison Supreme Defense
Both films are self-healing and pre-cut to your Tesla – the difference is longevity and finish.
| Boring PPF | Avery Dennison Supreme Defense | |
|---|---|---|
| Rating | ~7 years | ~10 years |
| Self-healing | Yes | Yes (premium top coat) |
| Finish | Clear, high value | High-gloss, closest-to-invisible |
| Thickness | Pre-cut, protective | 8 mil, hydrophobic top coat |
| Best for | Value-focused DIYers | Longest-lasting, premium result |
How much does PPF cost for a Model 3?
This is where DIY wins big – a professional job is mostly labor.
| Front end | Full body | |
|---|---|---|
| Professional install | ~$2,000 (often $1,800-$2,500) | $5,000-$8,000 |
| DIY Wrap Club kit | from $549 | from $1,499 |
Because you supply the labor, a DIY kit saves roughly 70-80% versus a shop – and every kit ships free (free shipping on all orders over $99).
How long does it take to install?
Plan for about 4-8 hours for a front kit, or 12-16 hours for full body, depending on your experience. The film is pre-cut, so there’s no measuring or trimming on your paint – the hardest and riskiest step is already done. Difficulty is beginner-to-intermediate: if you’re patient and follow the video, you can get professional-looking results.
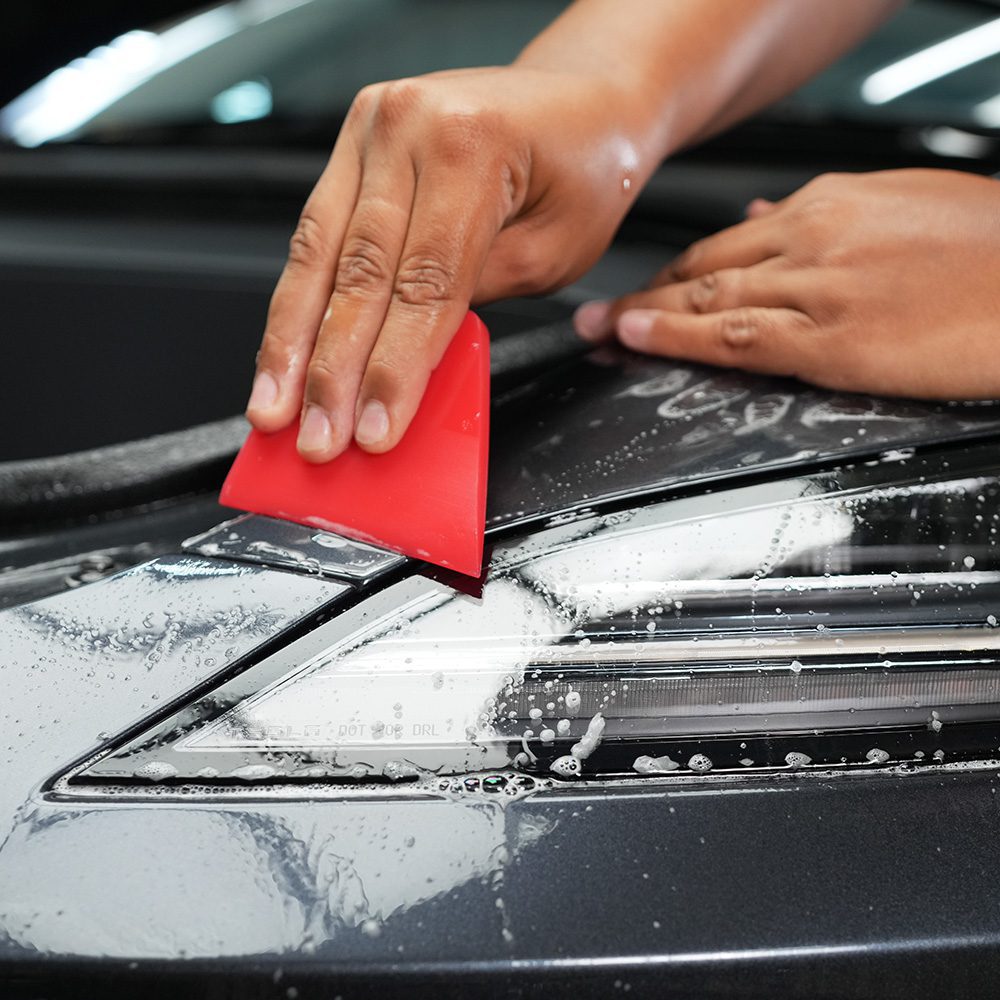
The basic process: clean and decontaminate the panel → spray slip and tack solution → lay the pre-cut piece → squeegee out the solution from the center outward → wrap or tuck the edges → let it cure.
Which kit fits your Model 3 Highland?
Fitment matters – the Highland’s Standard/Premium and Performance trims have different front bumpers, so grab the kit made for yours:
- Model 3 Highland Standard & Premium – Front PPF Kit
- Model 3 Highland Performance – Front PPF Kit
- Model 3 Highland Standard & Premium – Full Body Kit
- Model 3 Highland Performance – Full Body Kit
Driving a pre-Highland (2017-2023) Model 3? Use the Model 3 (2017-2023) Front PPF Kit instead.
👉 See every option on the Tesla DIY PPF Kits collection »
Aftercare
- Wait 7 days before washing so the adhesive fully cures.
- Hand wash with a pH-neutral soap; skip harsh chemicals and automatic brushes at first.
- Self-healing is heat-activated – park in the sun or use warm water to erase light swirls.

Frequently asked questions
Is PPF worth it on a Tesla Model 3?
Yes, if you want to keep the paint chip-free and protect resale value. The front end especially takes constant highway damage. A DIY kit makes it affordable.
Does PPF void a Tesla warranty?
No, because PPF is applied over your factory paint and removes cleanly without altering any mechanical or electrical systems. Under the Magnuson-Moss Warranty Act, a manufacturer can’t void your warranty simply for using an aftermarket product.
How long does Model 3 PPF last?
Depends on the film. Boring PPF is rated for about 7 years and Avery Dennison Supreme Defense for about 10, with basic care.
Can I really install it myself?
Yes! The film is pre-cut to your exact panels, so there’s no cutting on your paint. Kits include the tools and slip solution, plus step-by-step video access.
Front kit or full body?
A front kit protects the panels that get hit most (best value for daily driving). Full body is for owners who want every panel protected and maximum resale value.
New to DIY PPF? Start with our Model Y Juniper DIY PPF guide or browse all our DIY PPF guides.
Ready to protect your Model 3? Shop pre-cut DIY PPF kits for every Tesla model »